Lưu ý : BackTrack 3 đã cài sẳn VOL
| Section 0. Background Information |
- Volatility 2.2
- Volatility now supports Linux memory dumps in raw or LiME format and includes 35+ plugins for analyzing 32-bit and 64-bit Linux kernels from 2.6.11 - 3.5.x and distributions such as Debian, Ubuntu, OpenSuSE, Fedora, CentOS, and Mandrake. Official OSX and Android support are coming!
- Volatility supports memory dumps from all major 32-bit and 64-bit Windows versions and service packs including XP, 2003 Server, Vista, Server 2008, Server 2008R2, and 7.
- Whether your memory dump is in raw format, a Microsoft crash dump, hibernation file, or virtual machine snapshot, Volatility is able to work with it.
- Reference: http://code.google.com/p/volatility/
- Lab Notes
- In this lab we will do the following:
- Download Volatility 2.2.
- Un-Tar Volatility 2.2.
- Legal Disclaimer
| Section 1. Login to BackTrack |
- Start Up VMWare Player
- Instructions:
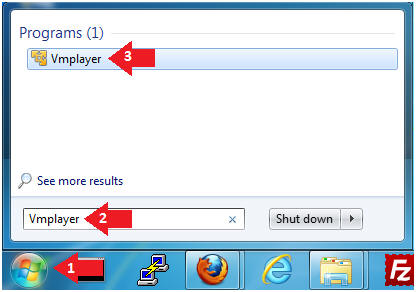
- Click the Start Button
- Type Vmplayer in the search box
- Click on Vmplayer
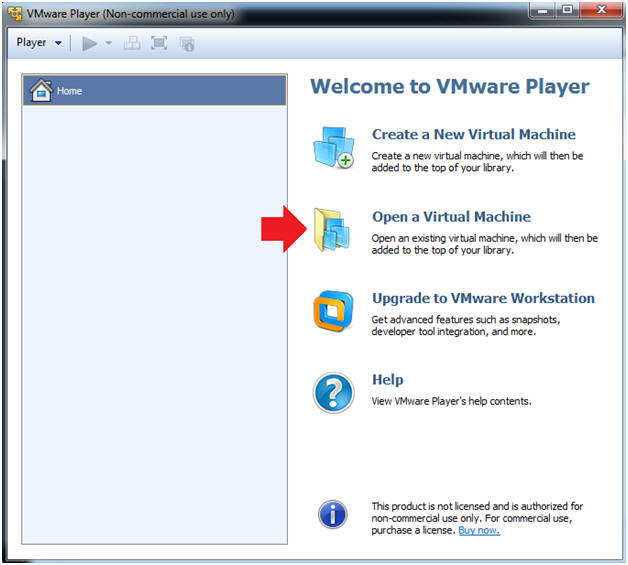
- Open a Virtual Machine
- Instructions:
- Click on Open a Virtual Machine
- Open the BackTrack5R1 VM
- Instructions:
- Navigate to where the BackTrack5R1 VM is located
- Click on on the BackTrack5R1 VM
- Click on the Open Button

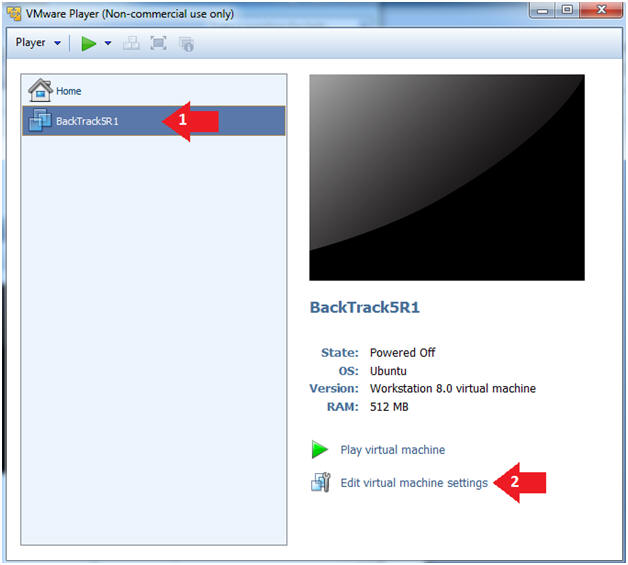
- Edit the BackTrack5R1 VM
- Instructions:
- Select BackTrack5R1 VM
- Click Edit virtual machine settings
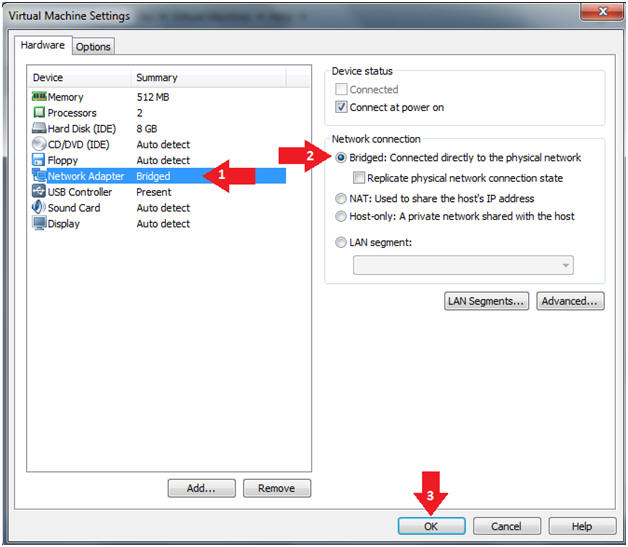
- Edit Virtual Machine Settings
- Instructions:
- Click on Network Adapter
- Click on the Bridged Radio button
- Click on the OK Button
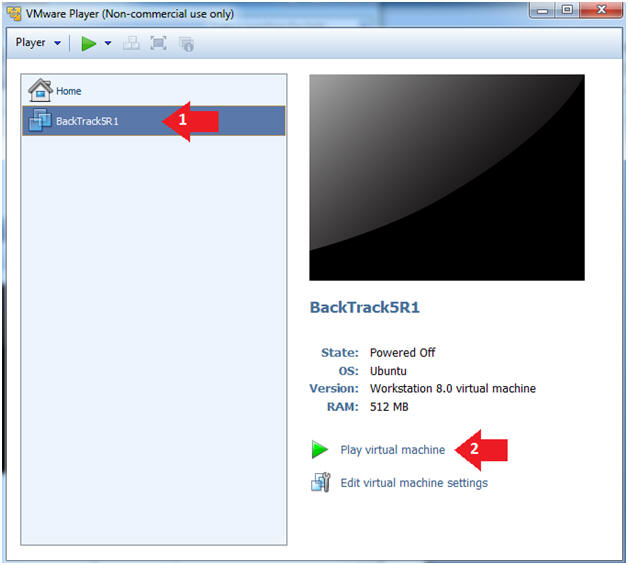
- Play the BackTrack5R1 VM
- Instructions:
- Click on the BackTrack5R1 VM
- Click on Play virtual machine
- Login to BackTrack
- Instructions:
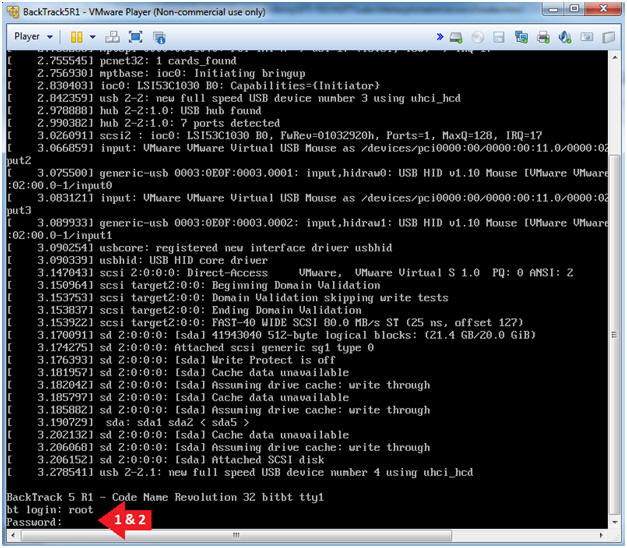
- Login: root
- Password: toor or <whatever you changed it to>.
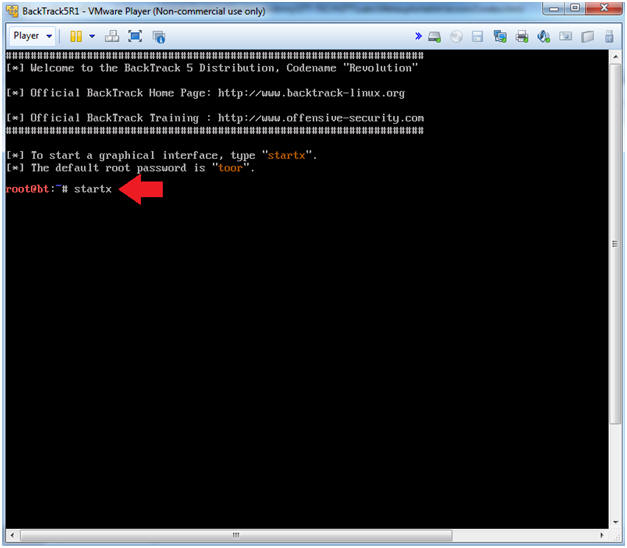
- Bring up the GNOME
- Instructions:
- Type startx
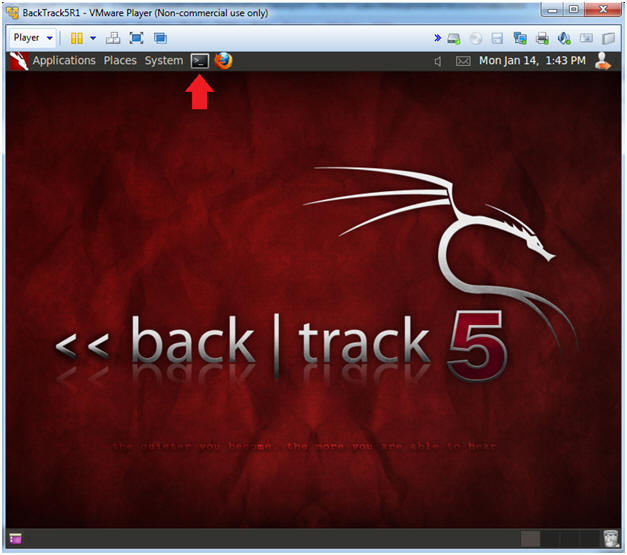
| Section 2. Bring up a console terminal |
- Start up a terminal window
- Instructions:
- Click on the Terminal Window
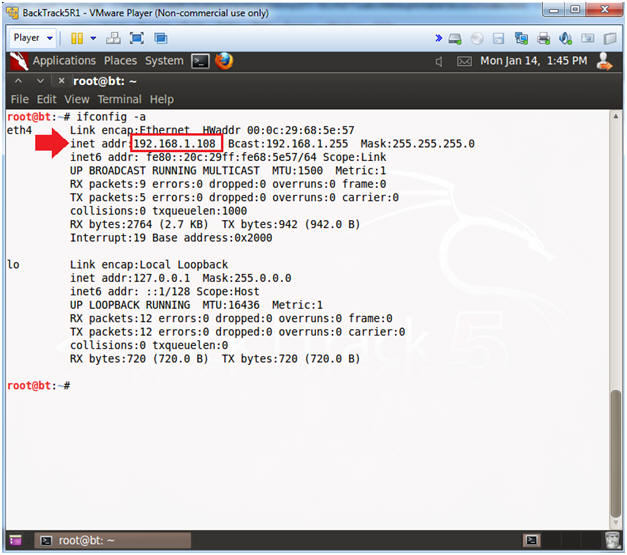
- Obtain the IP Address
- Instructions:
- ifconfig -a
- Note(FYI):
- My IP address 192.168.1.108.
- In your case, it will probably be different.
| Section 3. Installing Volatility 2.2 |
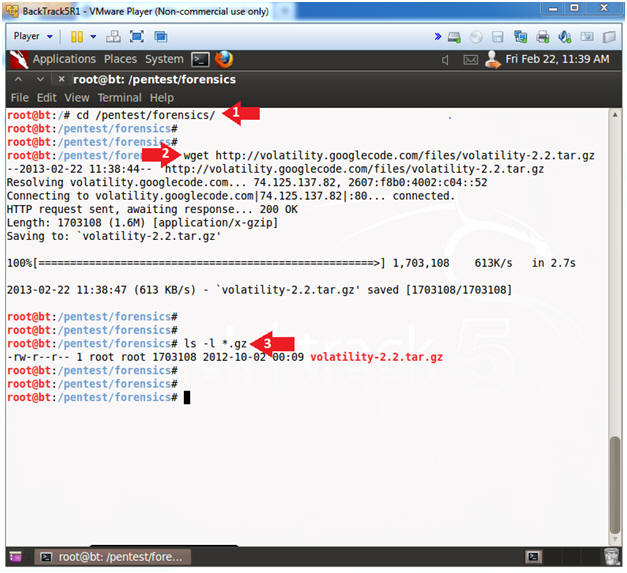
- Download Volatility 2.2
- Instructions
- cd /pentest/forensics/
- wget http://volatility.googlecode.com/files/volatility-2.2.tar.gz
- ls -l *.gz
- Un-Tar Volatility
- Instructions
- tar zxovf volatility-2.2.tar.gz

Không có nhận xét nào:
Đăng nhận xét