{ Scan with Nessus on BackTrack 5R}
| Section 0. Background Information |
- What is NESSUS?
- Tenable Network Security provides enterprise-class solutions for continuous monitoring and visibility of vulnerabilities, configurations, user activity and system events that impact security and compliance.
- Nessus features high-speed discovery, configuration auditing, asset profiling, sensitive data discovery and vulnerability analysis of your security posture
- Pre-Requisite
- BackTrack: Lesson 1: Installing BackTrack 5
- NESSUS: Lesson 2: Install Nessus on BackTrack 5
- Lab Notes
- In this lab we will do the following:
- Scan Damn Vulnerable WXP-SP2 with Nessus
- Product Nessus Report
- Save Nessus Report
- Legal Disclaimer
Đào Tạo An Toàn Thông Tin Www.AnToanThongTin.Edu.Vn
| Section 1. Login to BackTrack |
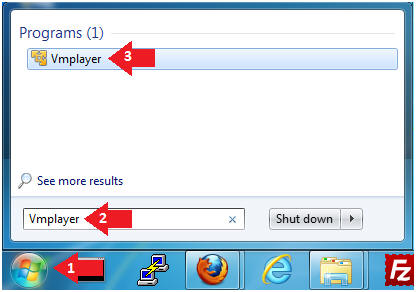
- Start Up VMWare Player
- Instructions:
- Click the Start Button
- Type Vmplayer in the search box
- Click on Vmplayer
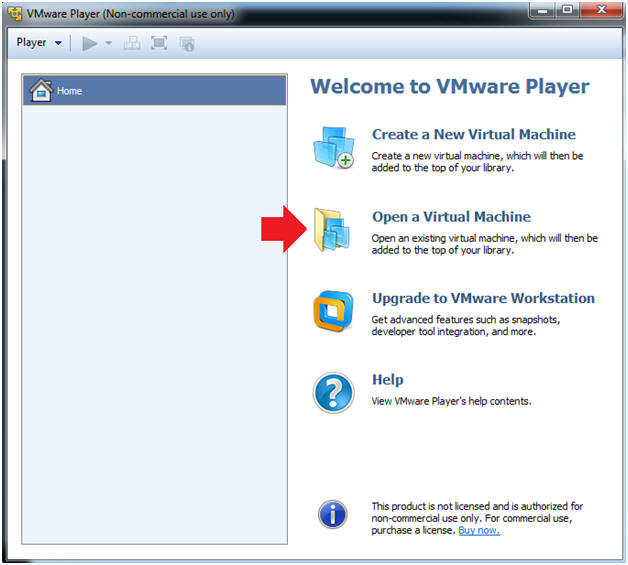
- Open a Virtual Machine
- Instructions:
- Click on Open a Virtual Machine
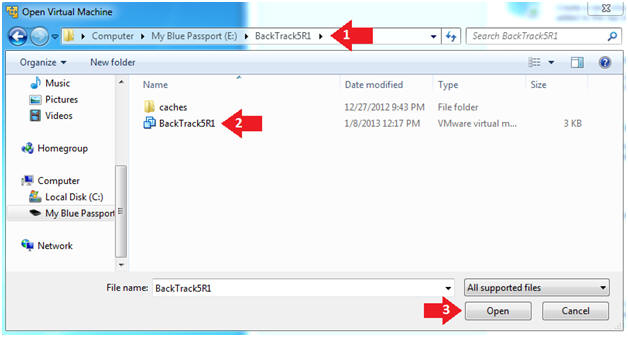
- Open the BackTrack5R1 VM
- Instructions:
- Navigate to where the BackTrack5R1 VM is located
- Click on on the BackTrack5R1 VM
- Click on the Open Button
- Edit the BackTrack5R1 VM
- Instructions:
- Select BackTrack5R1 VM
- Click Edit virtual machine settings

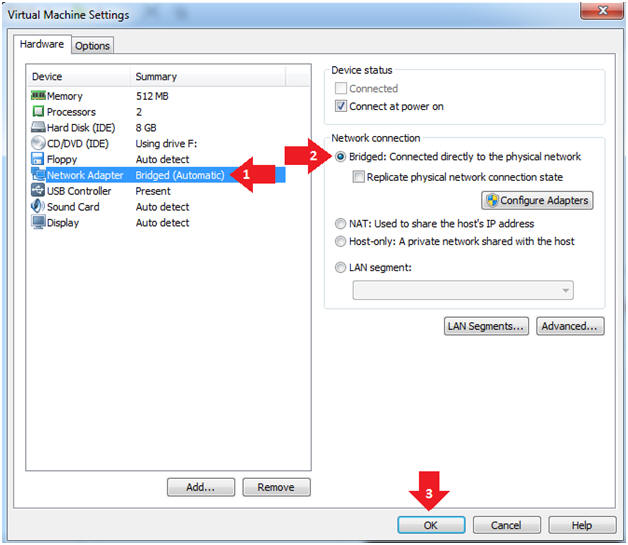
- Edit Virtual Machine Settings
- Instructions:
- Click on Network Adapter
- Click on the Bridged Radio button
- Click on the OK Button
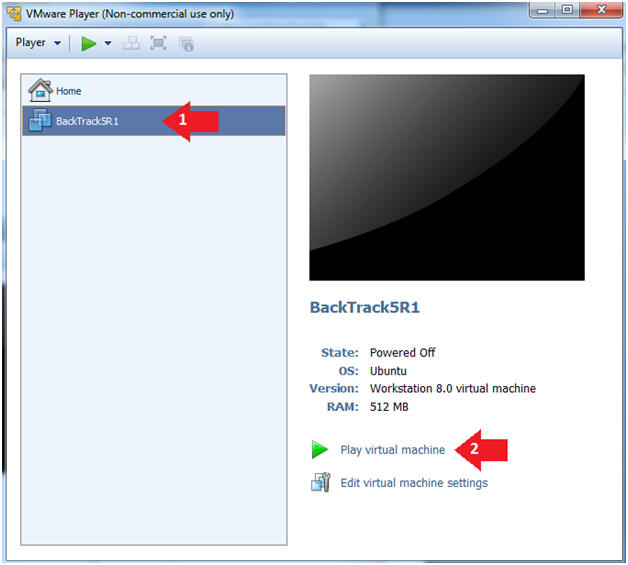
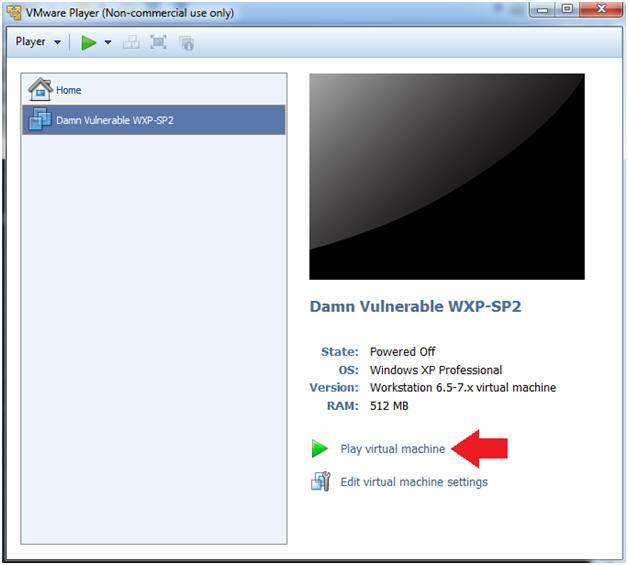
- Play the BackTrack5R1 VM
- Instructions:
- Click on the BackTrack5R1 VM
- Click on Play virtual machine
- Login to BackTrack
- Instructions:
- Login: root
- Password: toor or <whatever you changed it to>.
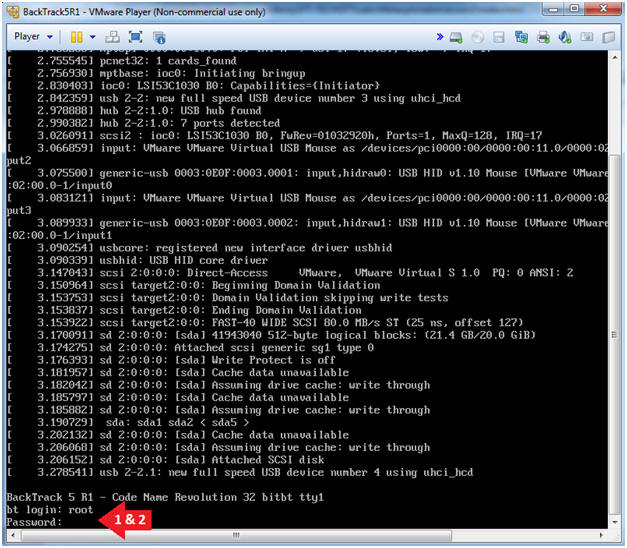
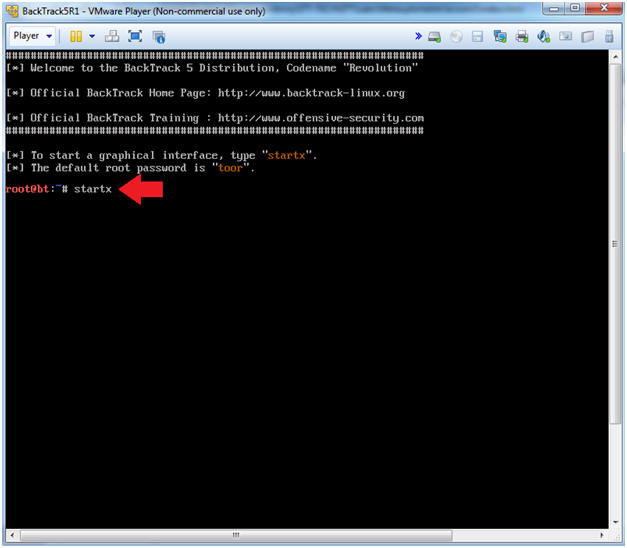
- Bring up the GNOME
- Instructions:
- Type startx
| Section 2. Login to Damn Vulnerable WXP-SP2 (Victim Machine) |
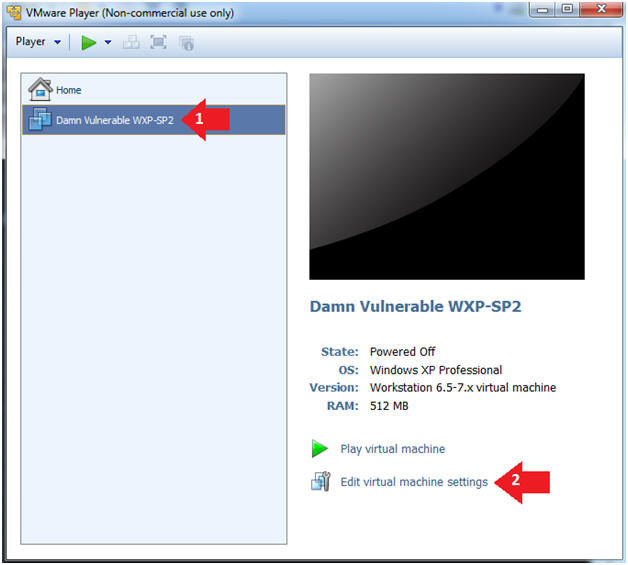
- Edit Virtual Machine Settings
- Instructions:
- Click on Damn Vulnerable WXP-SP2
- Edit Virtual Machine Settings
- Note:
- This VM is running Windows XP.
- This is the Victim Machine that we will be scanning with BackTrack5R1.
-
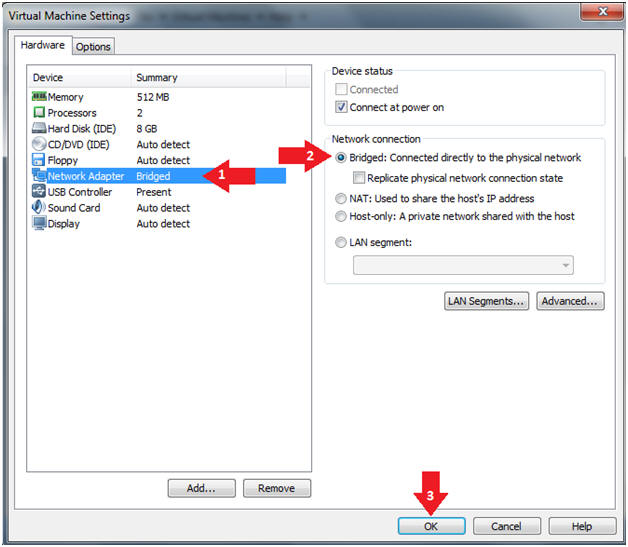
- Set Network Adapter
- Instructions:
- Click on Network Adapter
- Click on the radio button "Bridged: Connected directly to the physical network".
- Start Up Damn Vulnerable WXP-SP2.
- Instructions:
- Start Up your VMware Player
- Play virtual machine
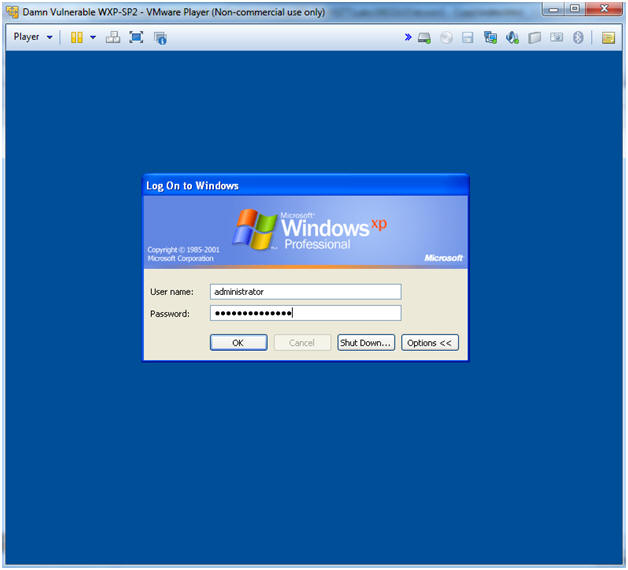
- Logging into Damn Vulnerable WXP-SP2.
- Instructions:
- Username: administrator
- Password: Use the Class Password or whatever you set it.
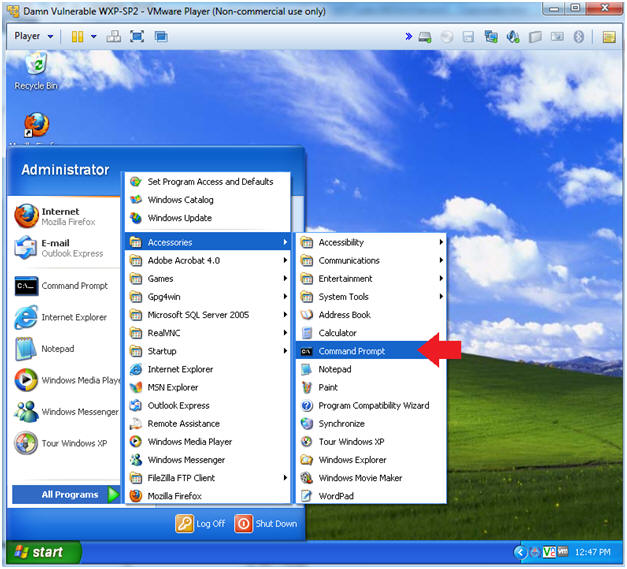
- Open a Command Prompt
- Instructions:
- Start --> All Programs --> Accessories --> Command Prompt
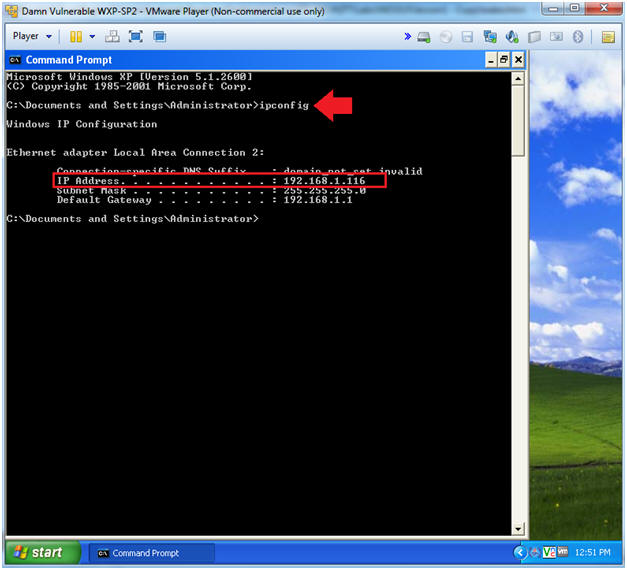
- Obtain the IP Address
- Instructions:
- In the Command Prompt type "ipconfig"
- Note(FYI):
- In my case, Damn Vulnerable WXP-SP2's IP Address 192.168.1.116.
- This is the IP Address of the Victim Machine.
- Record your IP Address.
-
| Section 3. Bring up a console terminal |
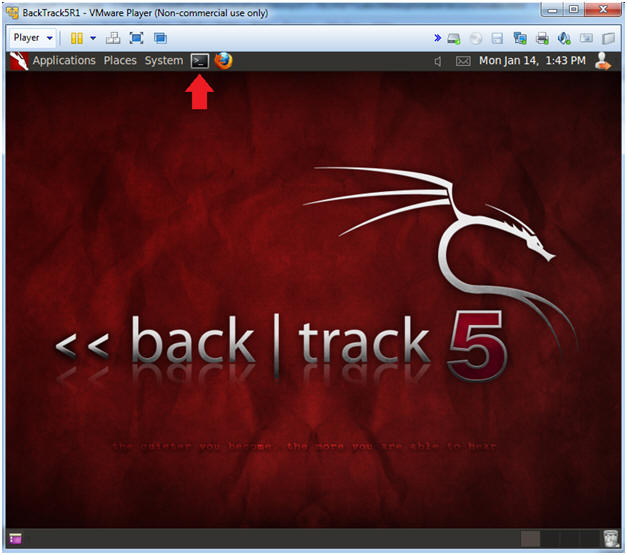
- Start up a terminal window
- Instructions:
- Click on the Terminal Window
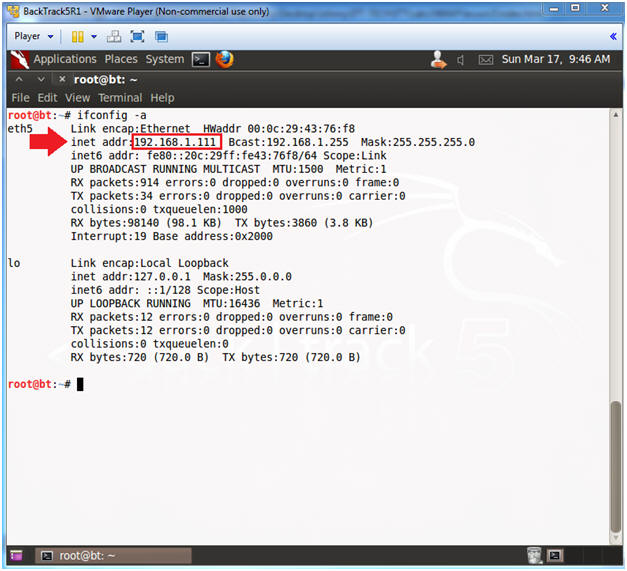
- Obtain the IP Address
- Instructions:
- ifconfig -a
- Note(FYI):
- My IP address 192.168.1.111.
- In your case, it will probably be different.
| Section 4. Start the Nessus Service |
- Start Nessus Service
- Instructions:
- /etc/init.d/nessusd start
- ps -eaf | grep nessus | grep -v grep
- ps -eaf: Show me all processes
- | grep nessus: Only show me nessus processes.
- | grep -v grep: Do not show my actual grep process.
| Section 5. Login To Nessus |
- Login to Nessus
- Instructions:
- Place the following URL in the Firefox Browser.
- Username: admin
- Password: <Supply Your Password>
- Click the Sign In To Continue Button
| Section 6. Scan with Nessus |
- Create a Scan
- Instructions:
- Click on Scan Queue
- Click on New Scan

- Launch Scan
- Note(FYI):
- Replace 192.168.1.116 with Damn Vulnerable WXP-SP2's IP Address obtained from (Section 2, Step 6).
- Instructions:
- Name: Damn Vulnerable WXP-SP2
- Type: Run Now
- Policy: Internal Network Scan
- Scan Targets: 192.168.1.116
- Click the Launch Scan Button

- Watch Running Scan
- Instructions:
- Click on Running

| Section 7. View Nessus Results |
- View Scan Status
- Instructions:
- Wait until scan is 100% complete before proceeding to the next step.
- Click on Vulnerabilities

- Viewing the Vulnerabilities
- Instructions:
- Notice the scan indicates how many vulnerabilities were found.
- In my case, there were 63.
- The purple vulnerabilities are the highest severity.
- Click on MS08-067
- Note(FYI):
- A pen tester will have a big smile on their face, if MS08-067 shows up on the radar.

- MS08-067 (Synopsis, Description, Solution)
- Instructions:
- Read the Synopsis
- Read the Description
- Read the Solution
- Note(FYI):
- Notice this affects not only XP, but also W2K, W2K3, Vista and W2K8.

- MS08-067 (Risk and Vulnerability Information)
- Instructions:
- Read the Risk Information
- Read the Vulnerability Information
- Note(FYI):
- The vulnerability section actually tells you which tools to use to exploit MS08-067.

- MS08-067 (Risk and Vulnerability Information)
- Note(FYI):
- Each reference provides you addition information on the MS08-067 vulnerability.
| Section 8. Save Nessus Report |
- Produce Report
- Instructions:
- Click on Export Results
- Export Format: CSV
- Click the Export button

- Save Report
- Instructions:
- Click the Save File radio button
- Click the OK Button

- Where to save the report
- Instructions:
- Name: dvwxpsp2.csv
- Places: root
- Click the Save Button
- Close the Download Window
- Instructions:
- Click the "X"

Proof of Lab- Instructions
- cd /root
- ls -l *.csv
- grep -i "MS08-067" *.csv
- date
- echo "Your Name"
- Put in your actual name in place of "Your Name"
- e.g., echo "John Gray"
- Proof Of Lab Instructions:
- Press the PrtScn key
- Paste into a word document
- Upload to website Www.AnToanThongTin.Edu.Vn


Không có nhận xét nào:
Đăng nhận xét