{ Installing Nmap }
| Section 0: Background Information |
- NMAP
- Nmap (Network Mapper) is a security scanner used to discover hosts and services on a computer network, thus creating a "map" of the network. To accomplish its goal, Nmap sends specially crafted packets to the target host and then analyzes the responses. Unlike many simple port scanners that just send packets at some predefined constant rate, Nmap accounts for the network conditions (latency fluctuations, network congestion, the target interference with the scan) during the run
- Lab Notes
- In this lab we will do the following:
- We will install NMAP
- We will install WinPcap
- In this lab we will do the following:
- Legal Disclaimer
- Đào Tạo An Toàn Thông Tin Www.AnToanThongTin.Edu.Vn
| Section 1: Power On PENTEST-WXP |
- Edit Virtual Machine Settings
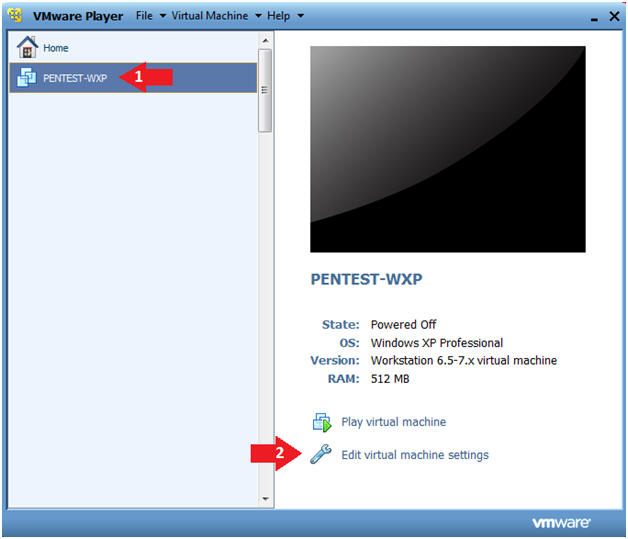
- Instructions:
- Click on PENTEST-WXP
- PENTEST-WXP is a Windows XP SP3 Virtual Machine.
- Click on Edit virtual machine
- Click on PENTEST-WXP
- Instructions:
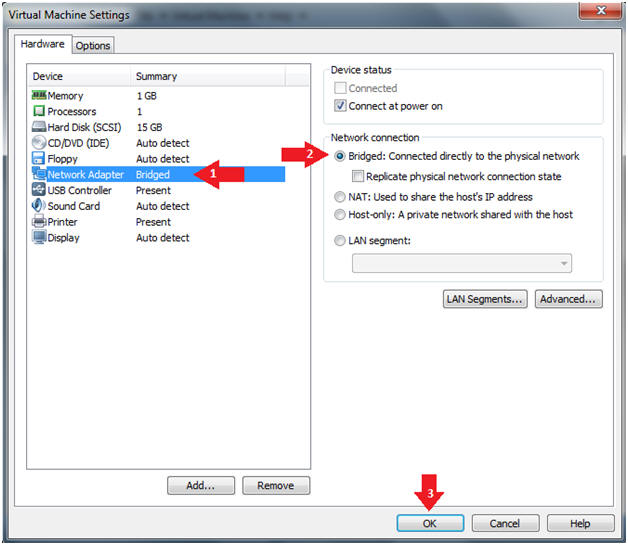
- Configure Network Adapter
- Instructions:
- Select Network Adapter
- Click the radio button "Bridged: Connected directly to the physical network."
- Click the Okay button
- Instructions:
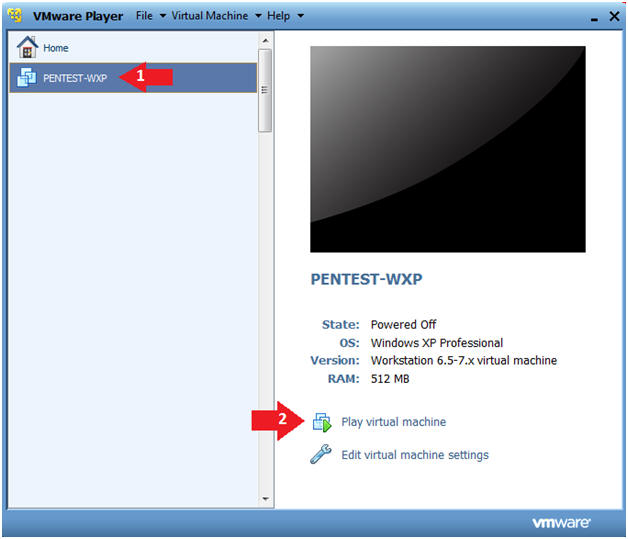
- Start PENTEST-WXP
- Instructions:
- Click on PENTEST-WXP
- Click on Play virtual machine
- Instructions:
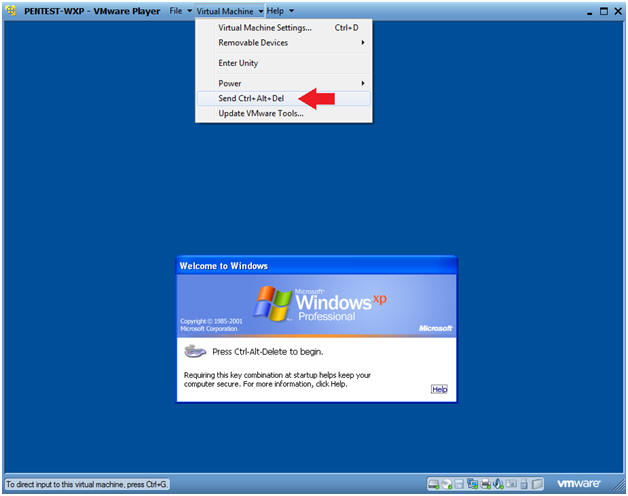
- Send Ctrl+Alt+Del
- Instructions:
- Virtual Machine --> Send Ctrl+Alt+Del
- Instructions:
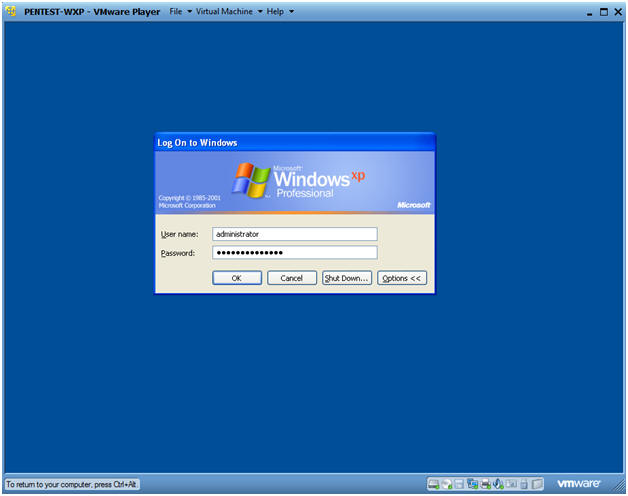
- Logging into PENTEST-WXP.
- Instructions:
- Username: administrator
- Password: Provide the Password
- Instructions:
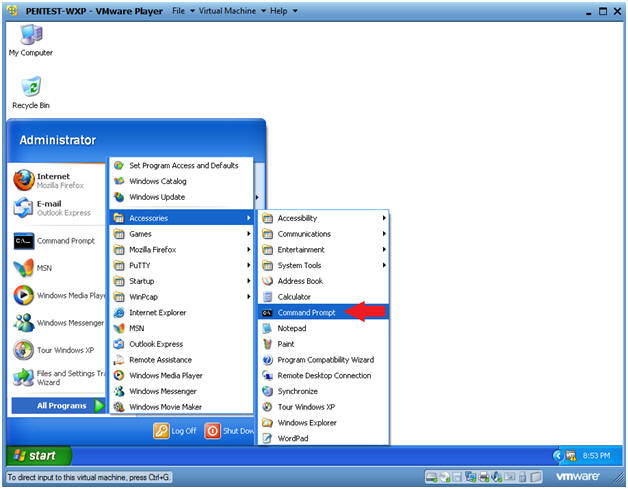
- Open a Command Prompt
- Instructions:
- Start --> All Programs --> Accessories --> Command Prompt
- Instructions:
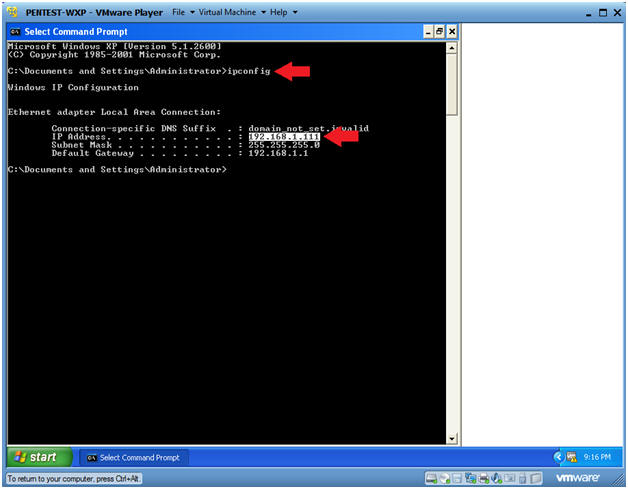
- Obtain PENTEST-WXP's IP Address
- Instructions:
- ipconfig
- Note(FYI):
- In my case, PENTEST-WXP's IP Address is 192.168.1.111.
- Your IP Address will be different.
- Instructions:
| Section 2: Download NMAP |
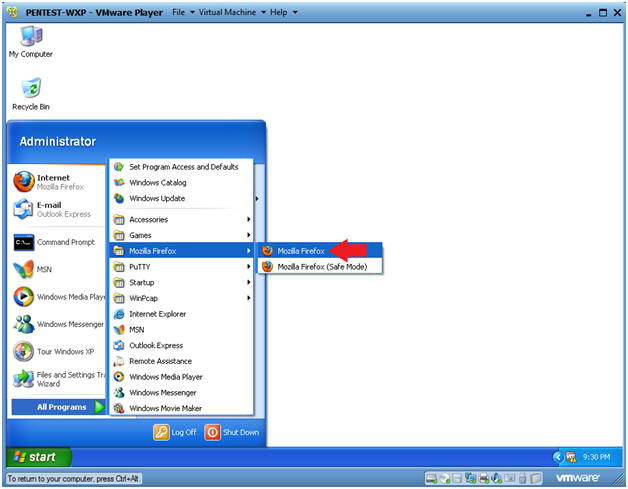
- Start Firefox
- Instructions:
- Start --> All Programs --> Mozilla Firefox --> Mozilla Firefox
- Instructions:
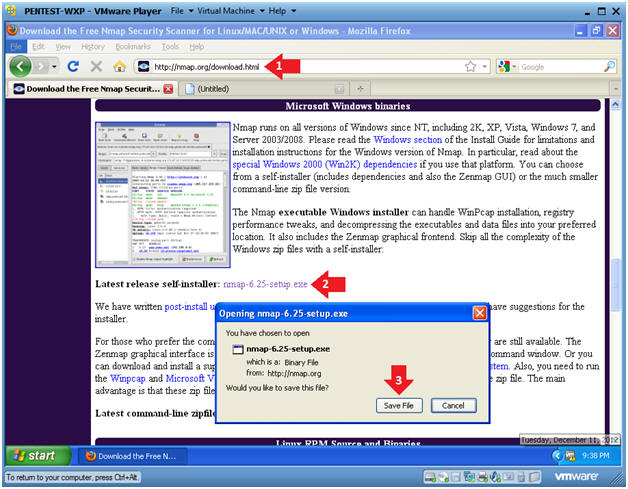
- Navigate to the NMAP Website
- Instructions:
- Place "http://nmap.org/download.html" in the URL Address Box.
- Click on the Latest release self-installer: nmap-6.25-setup.exe.
- There might be a more recent version.
- Click on the Save File Button
- Instructions:
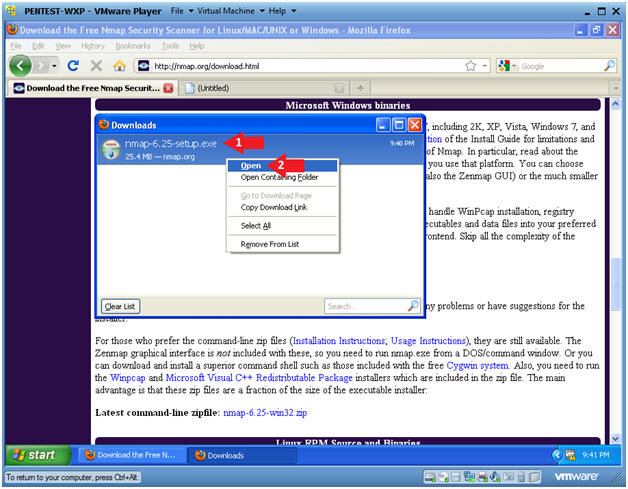
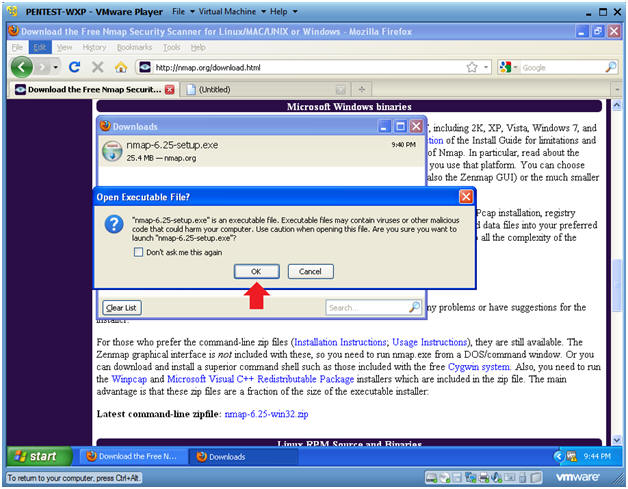
- Open the NMAP executable
- Instructions:
- Right on the nmap-x.xx-setup.exe
- Click on Open
- Instructions:
- Open Executable File?
- Instructions:
- Click on the OK Button
- Instructions:
- Open File - Security Warning
- Instructions:
- Click the Run Button
- Instructions:
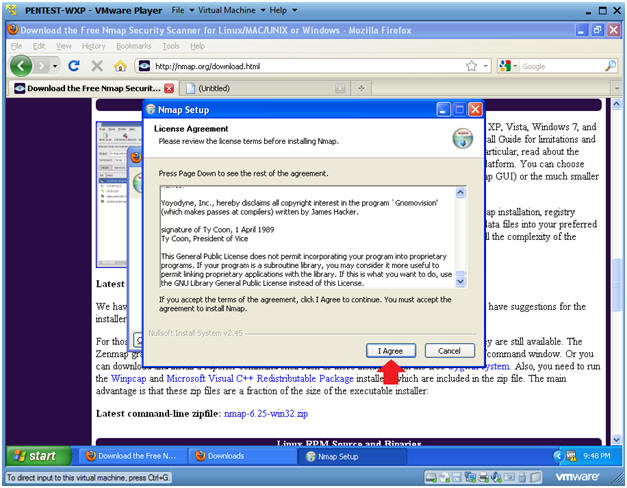
- License Agreement
- Instructions:
- Click on the I Agree Button
- Instructions:
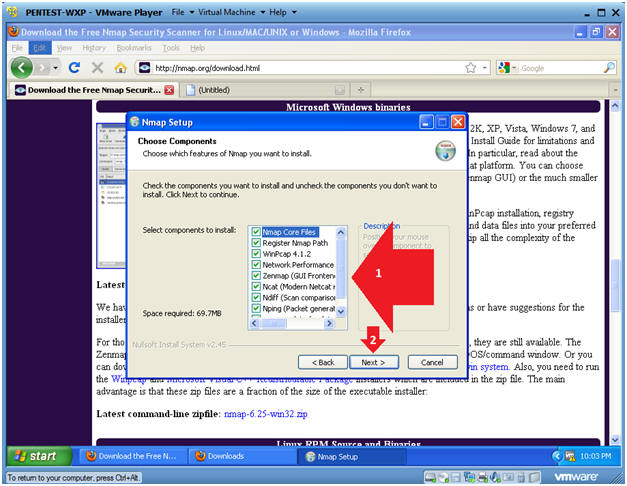
- Choose Components
- Instructions:
- Make sure all components are selected
- Click the Next Button
- Instructions:
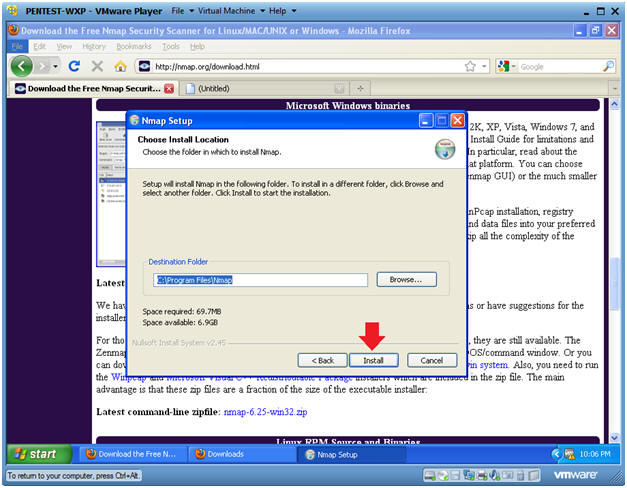
- Choose Install Location
- Instructions:
- Click the Install Button
- Instructions:
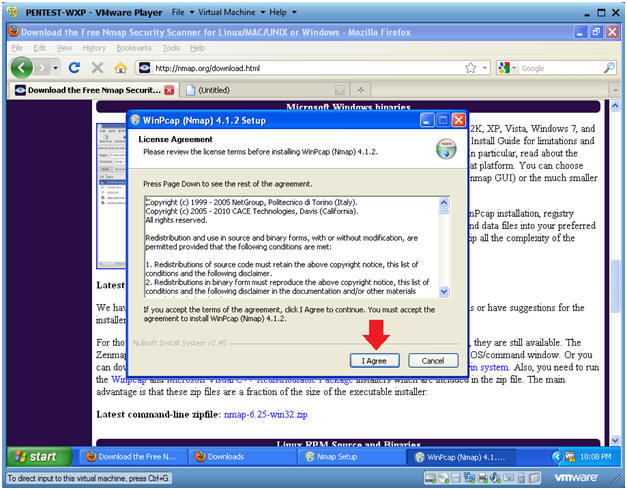
- WinPcap License Agreement
- Instructions:
- Click the I Agree Button
- Instructions:
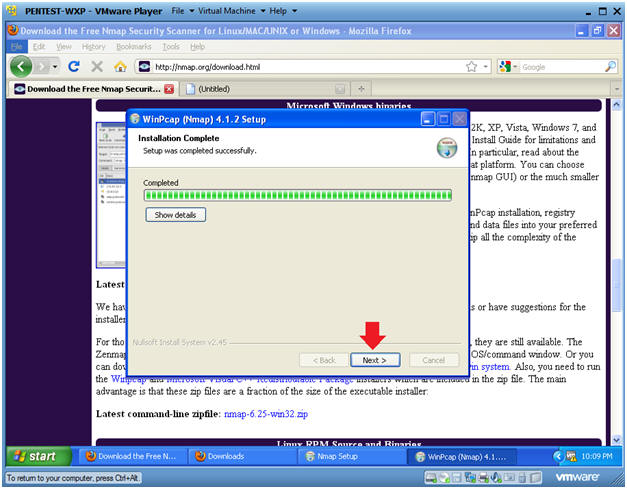
- WinPcap Installation Complete
- Instructions:
- Click the Next Button
- Instructions:
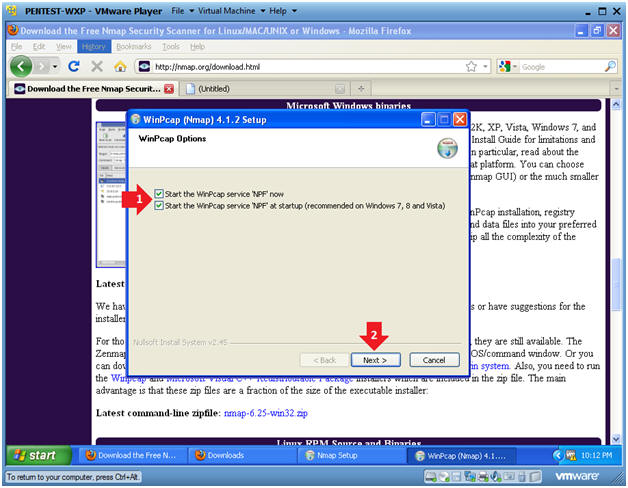
- WinPcap Options
- Instructions:
- Select the Checkboxes
- Select the Next Button
- Instructions:
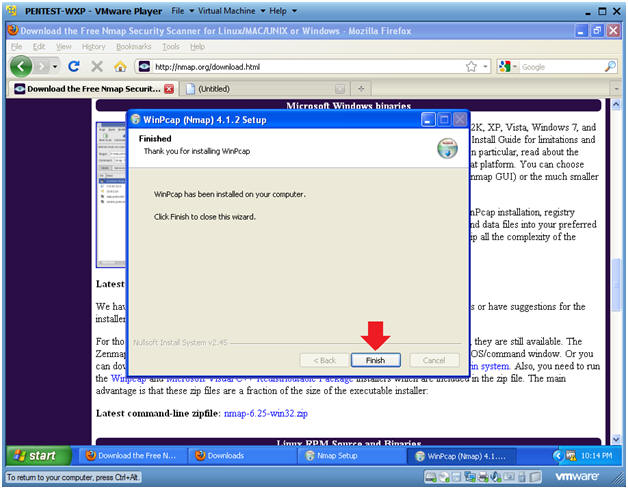
- WinPcap Finished
- Instructions:
- Select the Finish Button
- Instructions:
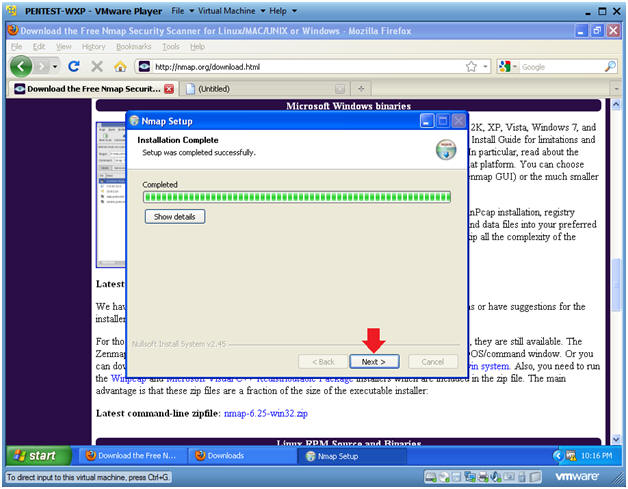
- Nmap Setup
- Instructions:
- Click Next
- Instructions:
- Nmap Create Shortcuts
- Instructions:
- Select all checkboxes
- Click the Next Button
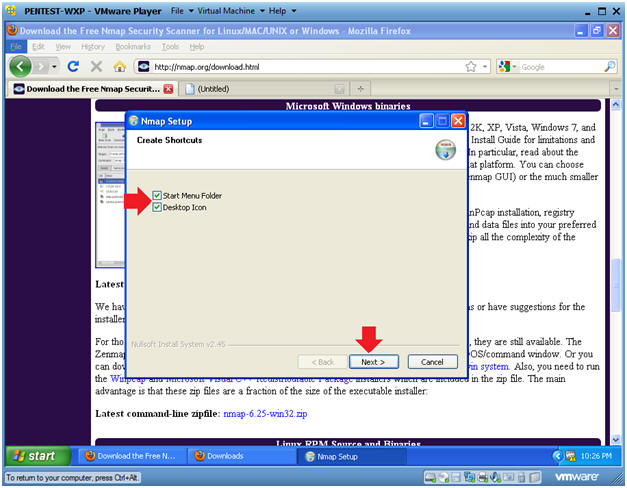
- Instructions:
- Nmap Setup Finished
- Instructions:
- Click the Finish Button
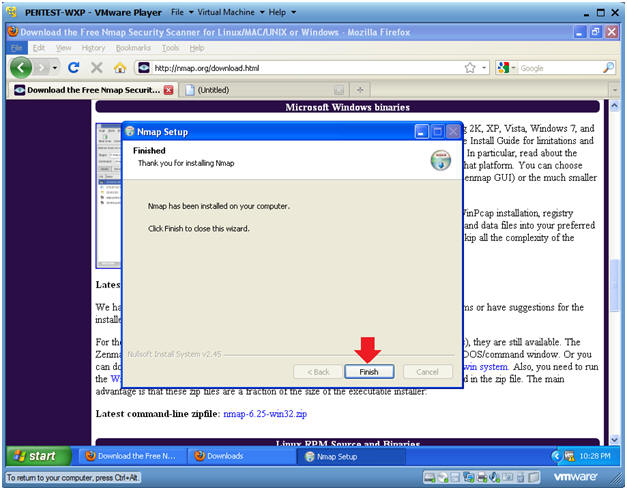
- Instructions:

| Section 3: Proof Of Lab |
- Open a Command Prompt
- Instructions:
- Start --> All Programs --> Accessories --> Command Prompt
- Instructions:
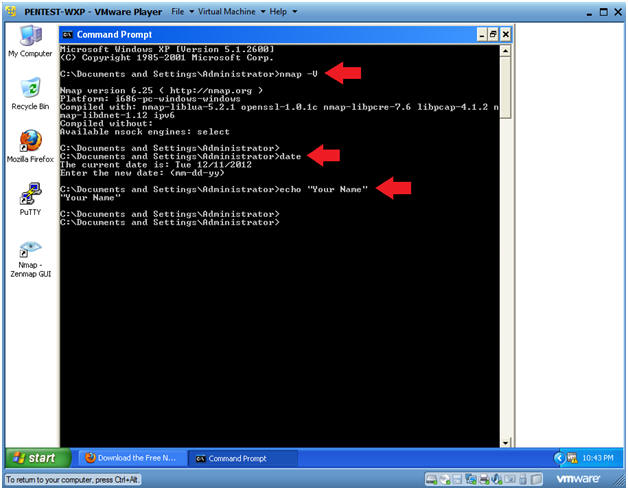
- Proof of Lab
- Instructions:
- nmap -V
- date
- Press enter twice.
- echo "Your Name"
- This should be your actual name.
- e.g., echo "John Gray"
- Proof of Lab Instructions:
- Do a PrtScn
- Paste into a word document
- Upload to website Www.AnToanThongTin.Edu.Vn
- Instructions:
Không có nhận xét nào:
Đăng nhận xét