{ How to Install Mutillidae on Fedora}
Bài thực hành sẽ cài đặt NOWASP trên Windows 7
| Section 0. Background Information |
- What Mutillidae?
- OWASP Mutillidae II is a free, open source, deliberately vulnerable web-application providing a target for web-security enthusiast.
- With dozens of vulns and hints to help the user; this is an easy-to-use web hacking environment designed for labs, security enthusiast, classrooms, CTF, and vulnerability assessment tool targets. Mutillidae has been used in graduate security courses, corporate web sec training courses, and as an "assess the assessor" target for vulnerability assessment software.
- Pre-Requisite Lab
- Fedora: Lesson 1: Installing Fedora
- Note: Only required if you don't already have a Fedora instance.
- Lab Notes
- In this lab we will do the following:
- Install Apache Webserver
- Install Mysql Server
- Install PHP
- Install and Configure Mutillidae
- Lưu ý - Bài thực hành trong lớp học sẽ cài đặt NOWASP trên Windows 7 (máy thật) / hoặc máy ảo Windows XP / 2K3
| Section 1. Configure Fedora14 Virtual Machine Settings |
- Open Your VMware Player
- Instructions:
- On Your Host Computer, Go To
- Start --> All Program --> VMWare --> VMWare Player
- Edit BackTrack Virtual Machine Settings
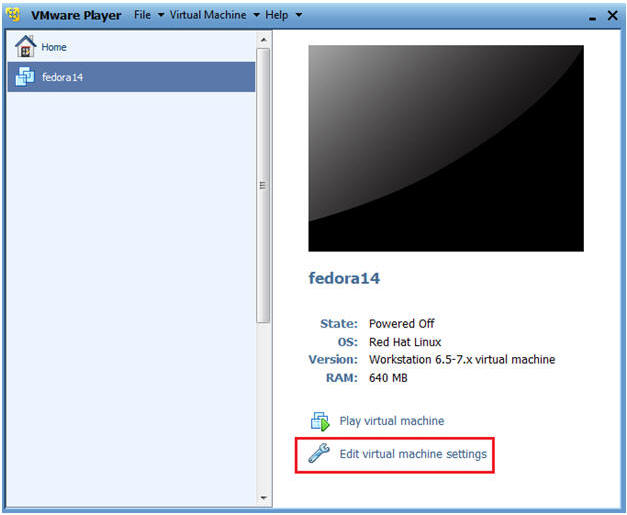
- Instructions:
- Highlight fedora14
- Click Edit virtual machine settings
- Edit Network Adapter
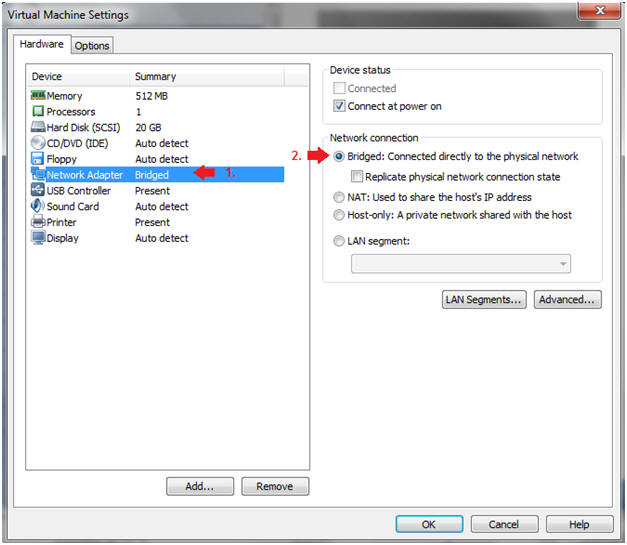
- Instructions:
- Highlight Network Adapter
- Select Bridged
- DO NOT Click on the OK Button.
- Edit Network Adapter
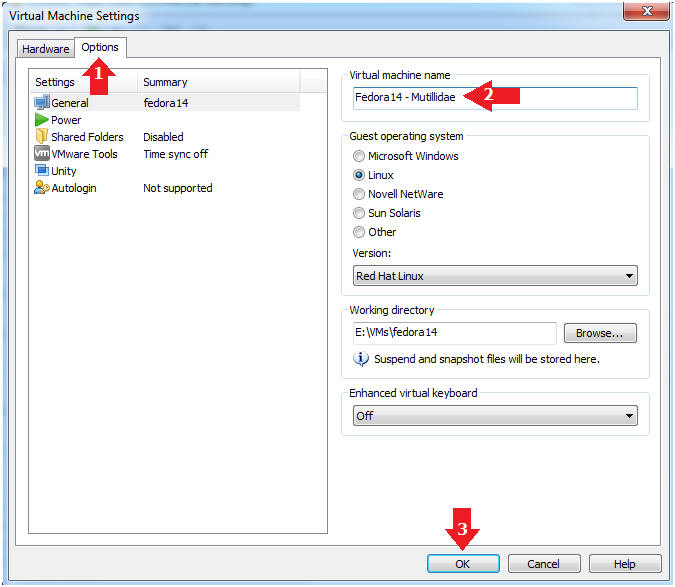
- Instructions:
- Click the Options Tab
- Virtual machine name: Fedora14 - Mutillidae
- Click the OK Button
| Section 2. Login to Fedora14 - Mutillidae |
- Start Fedora14 VM Instance
- Instructions:
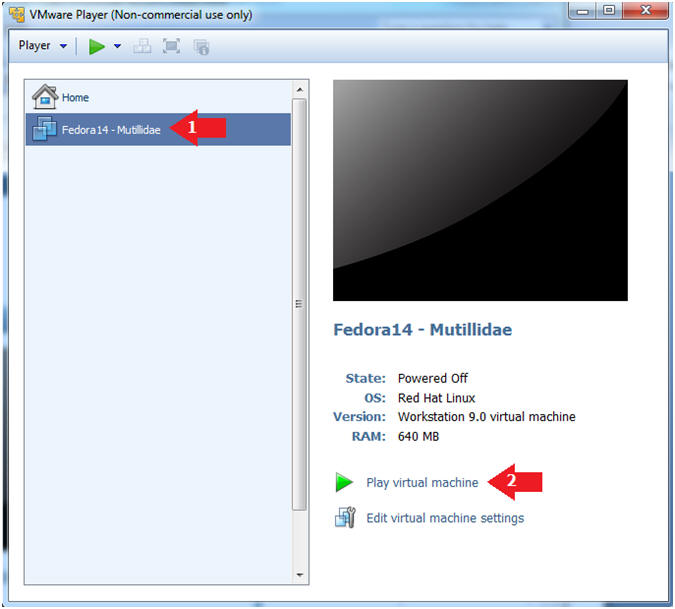
- Start Up VMWare Player
- Select Fedora14 - Mutillidae
- Play virtual machine
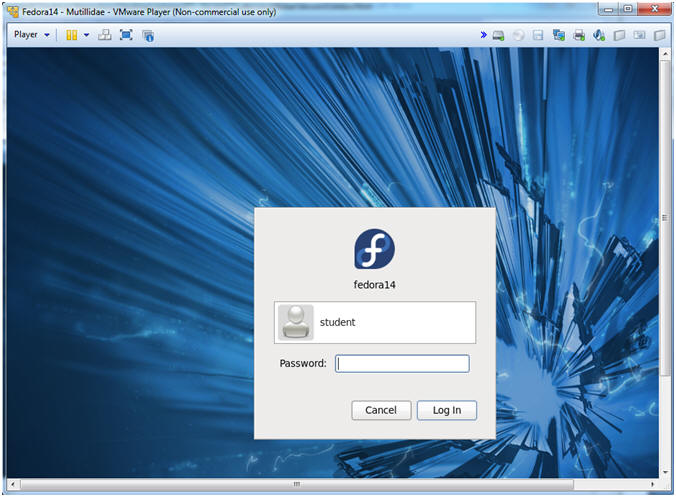
- Login to Fedora14 - Mutillidae
- Instructions:
- Login: student
- Password: <whatever you set it to>.
-
| Section 3. Open Console Terminal and Retrieve IP Address |
- Start a Terminal Console
- Instructions:
- Applications --> Terminal

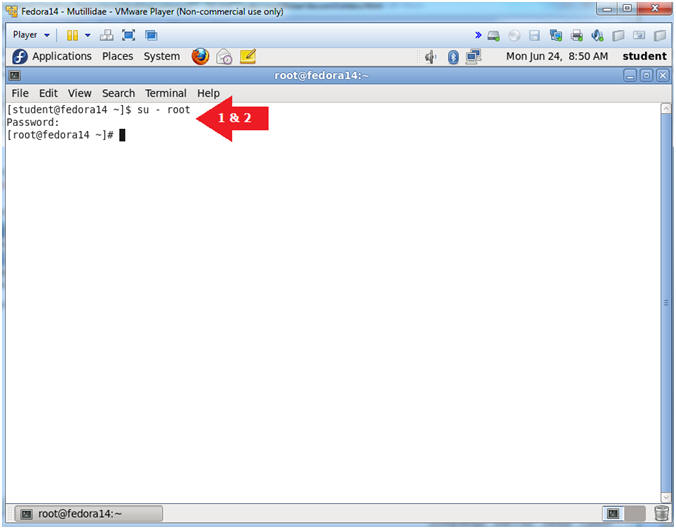
- Switch user to root
- Instructions:
- su - root
- <Whatever you set the root password to>
-
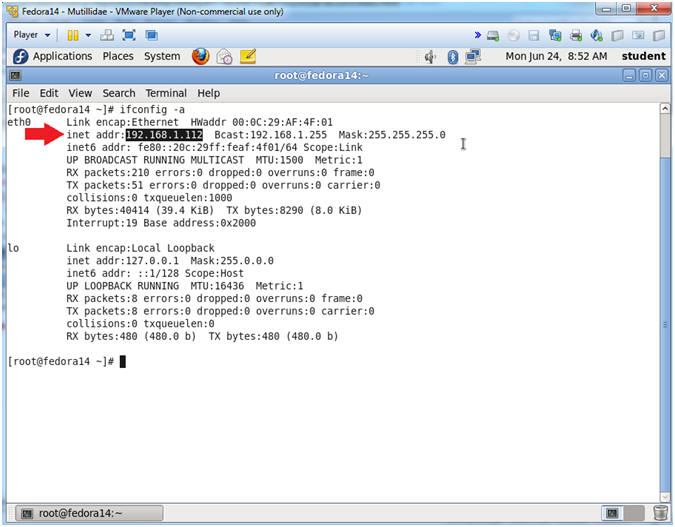
- Get IP Address
- Instructions:
- ifconfig -a
- Notes (FYI):
- As indicated below, my IP address is 192.168.1.112.
- Please record your IP address.
| Section 4. Disable SELinux |
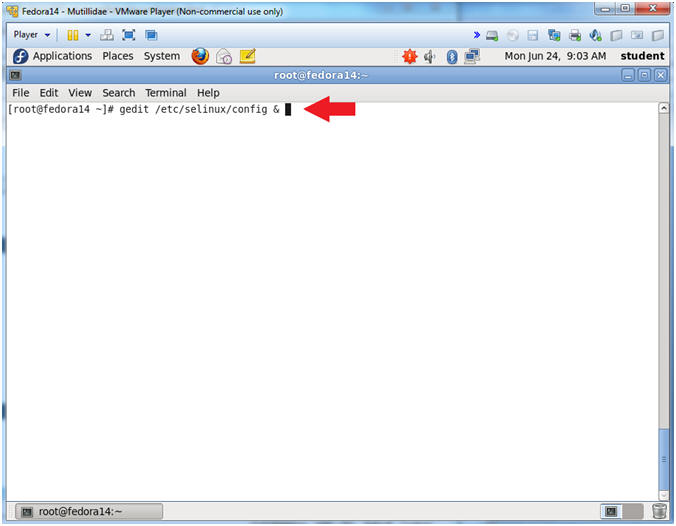
- Open the SELinux config file with gedit
- Instructions:
- gedit /etc/selinux/config &
- Notes (FYI):
- The "&" is used to open gedit in the background.
- If you are the Linux Guru feel free to use the VI editor instead.
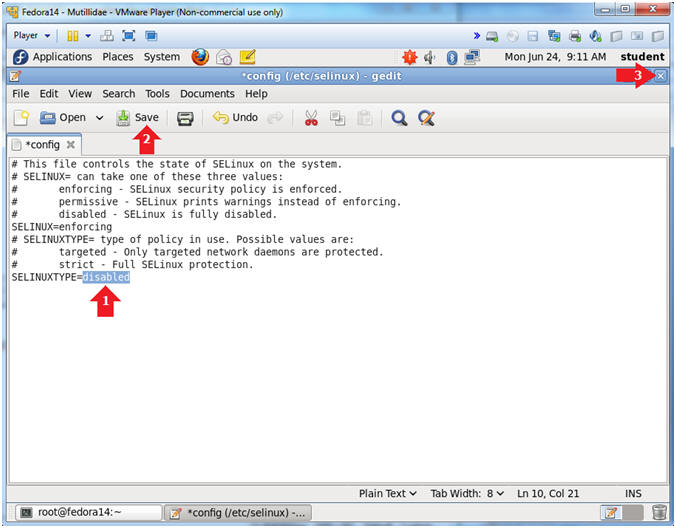
- Delete targeted
- Instructions:
- Arrow down to the last line --> SELINUXTYPE=targeted
- Highlight the word "targeted" and press the delete button

- Replace targeted with disabled
- Instructions:
- Replace targeted with the word "disabled"
- Click Save
- Click the "X" to Close
- Open the SELINUX config file with gedit
- Instructions:
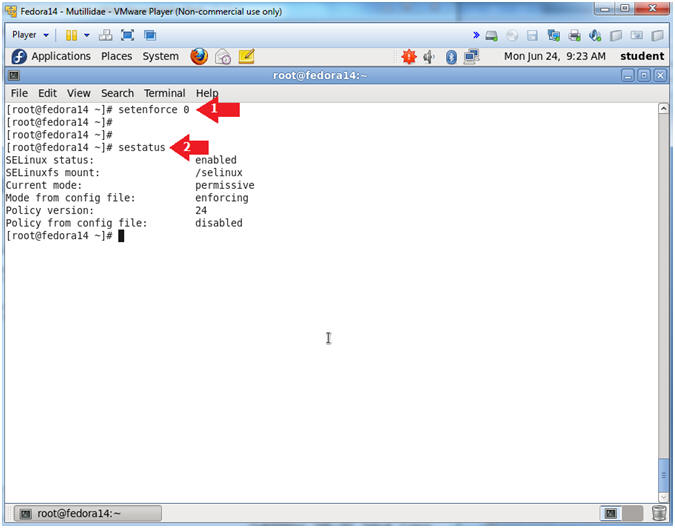
- setenforce 0
- sestatus
- Notes (FYI):
- setenforce - is used to modify the mode SELinux is running in.
- Generally, I do not support disabling SELinux. However, we are going to turn this server into a vulnerable machine by later installing Mutillidae.
| Section 5. Disable Firewall |
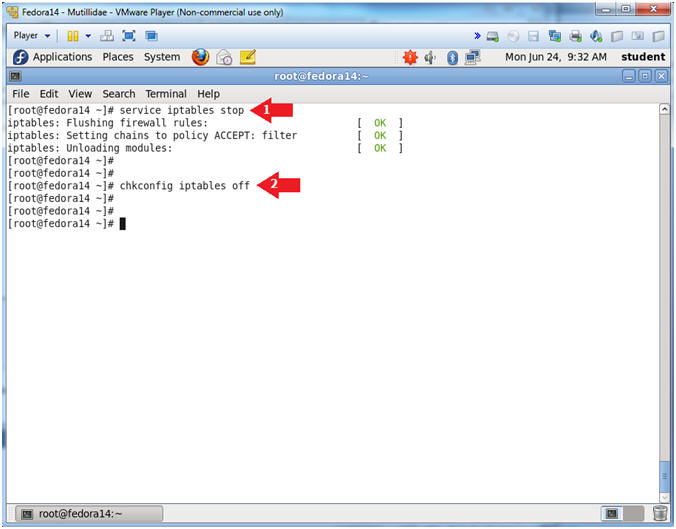
- Disable the Firewall
- Instructions:
- service iptables stop
- chkconfig iptables off
- Notes (FYI):
- Again, I do not support disabling the firewall. However, we are going to turn this server into a vulnerable machine by later installing Mutillidae.
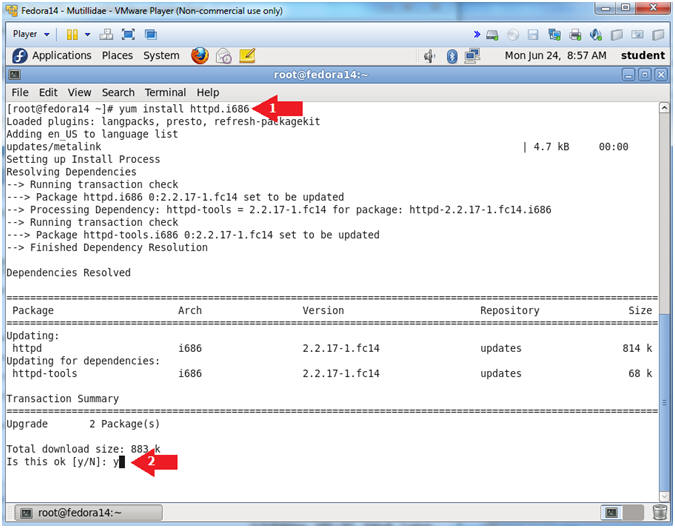
| Section 6. Install Apache httpd Server |
- Download httpd
- Instructions:
- yum install httpd.i686
- y
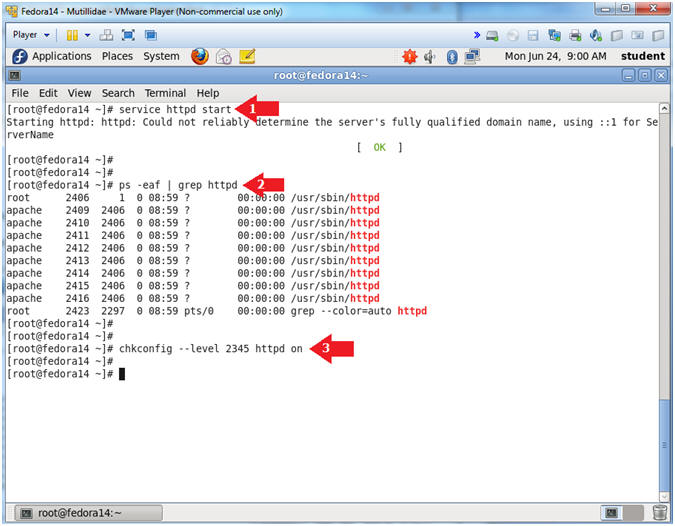
- Start Apache
- Instructions:
- service httpd start
- This starts up the Apache Listening Daemon
- ps -eaf | grep httpd
- Check to make sure Apache is running.
- chkconfig --level 2345 httpd on
- Create Start up script for run levels 2, 3, 4 and 5.
| Section 7. Install mysql and mysql-server |
- Install mysql
- Instructions:
- yum install mysql.i686
- Is this okay [y/N]: y

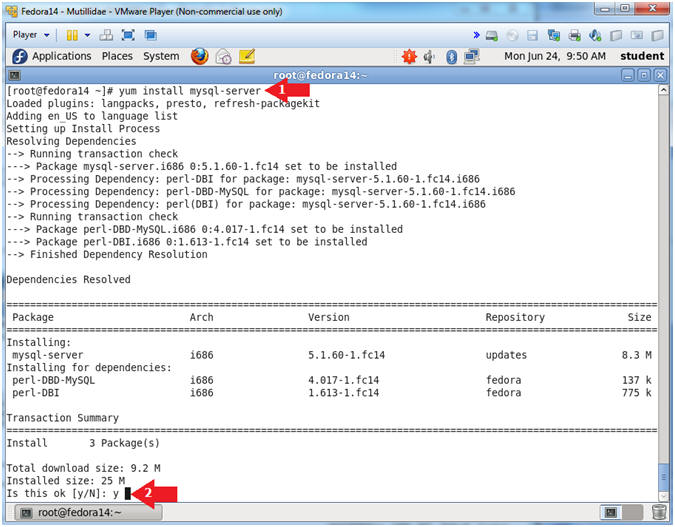
- Install mysql-server
- Instructions:
- yum install mysql-server
- Is this okay [y/N]: y
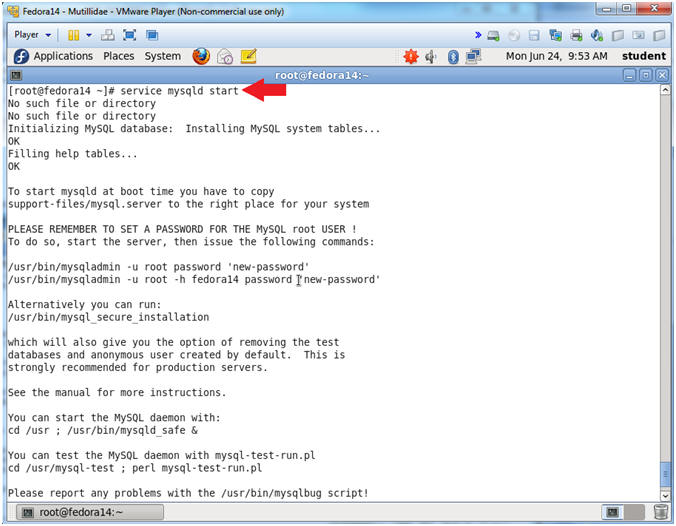
- Start Up mysqld
- Instructions:
- service mysqld start
- Start Up mysqld
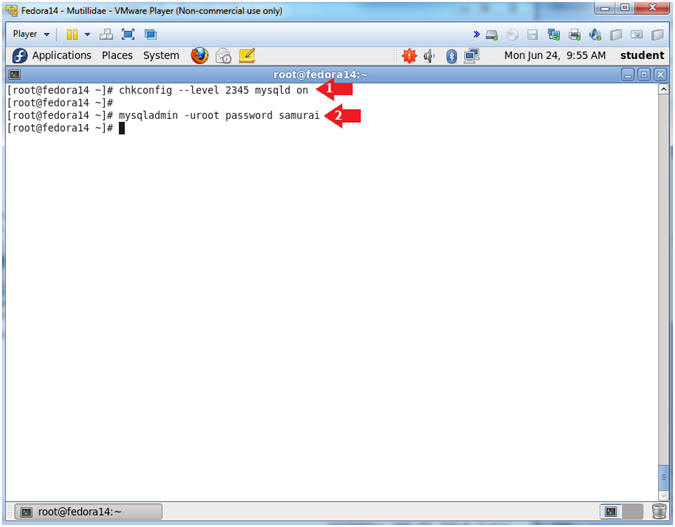
- Instructions:
- chkconfig --level 2345 mysqld on
- Creates the start up scripts for run level 2, 3, 4 and 5.
- mysqladmin -u root password samurai
- Sets the mysql root password to "samurai"
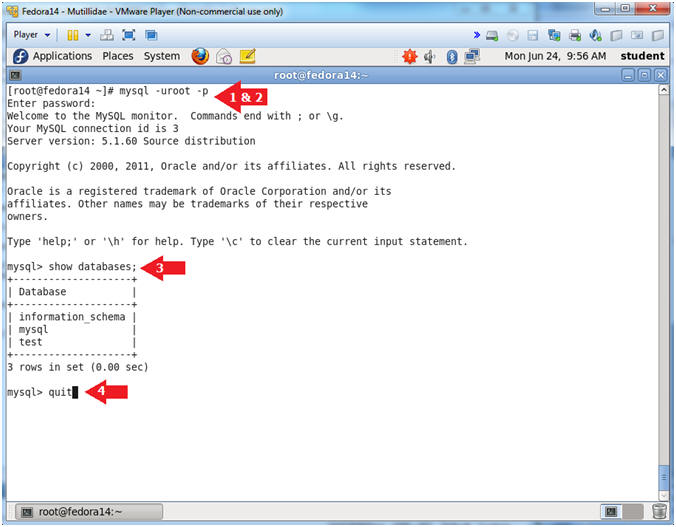
- Login to mysql
- Instructions:
- mysql -uroot -p
- samurai
- show databases;
- quit
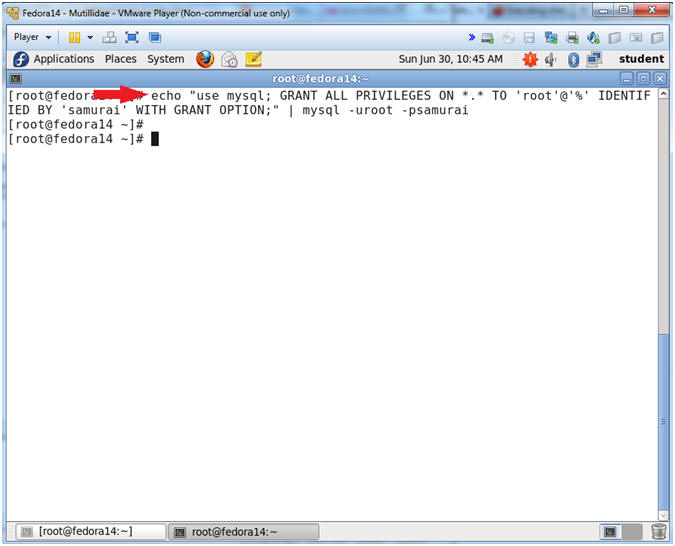
- Allow Remote Access to MySQL
- Note(FYI):
- Allowing remote access is not part of the Mutillidae installation.
- This step just provides an additional vulnerability used in following labs.
- Instructions:
- echo "use mysql; GRANT ALL PRIVILEGES ON *.* TO 'root'@'%' IDENTIFIED BY 'samurai' WITH GRANT OPTION;" | mysql -uroot -psamurai
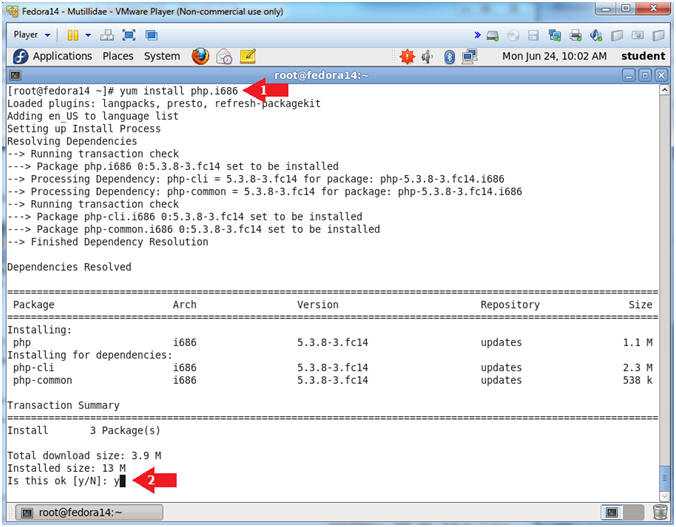
- Install PHP
- Instructions:
- yum install php.i686
- Is this okay [y/N]: y
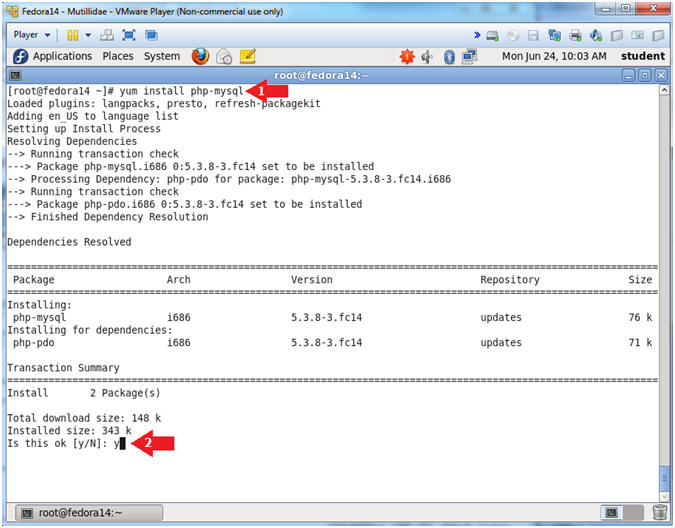
- Install php-mysql
- Instructions:
- yum install php-mysql
- Is this okay [y/N]: y
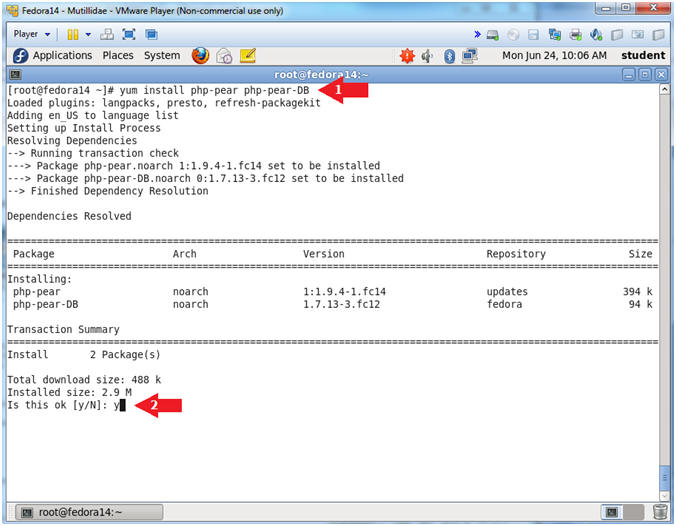
- Install php-pear
- Instructions:
- yum install php-pear php-pear-DB
- Is this okay [y/N]: y
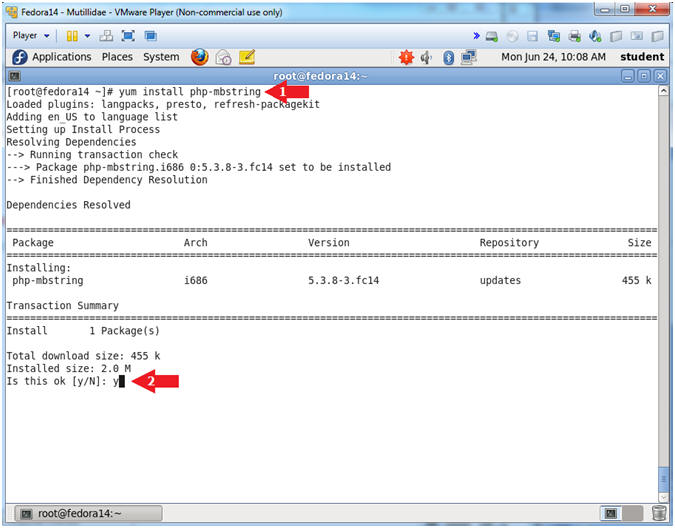
- Install php-mbstring
- Instructions:
- yum install php-mbstring
- Is this okay [y/N]: y
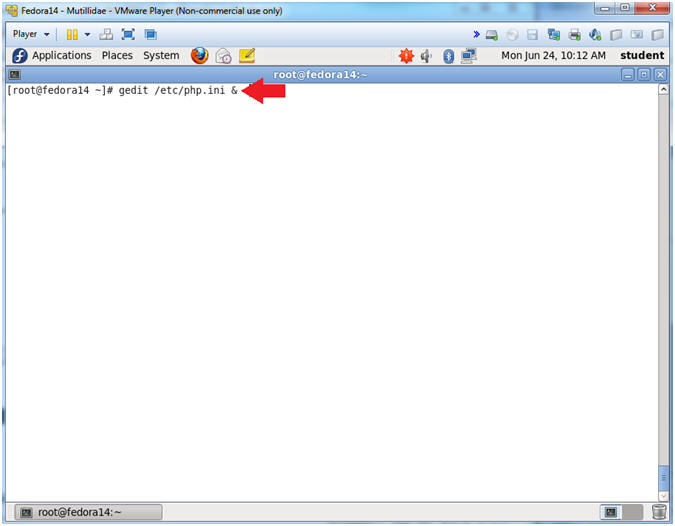
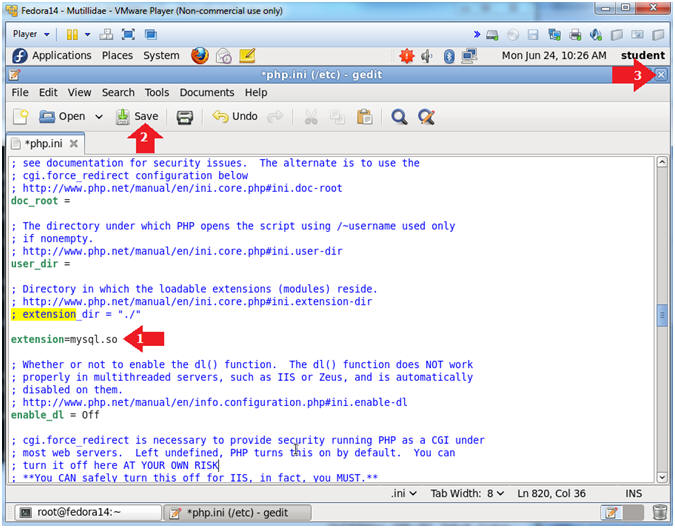
- Open php.ini
- Instructions:
- gedit /etc/php.ini &
- Notes (FYI):
- The "&" is used to open gedit in the background.
- If you are the Linux Guru feel free to use the VI editor instead.
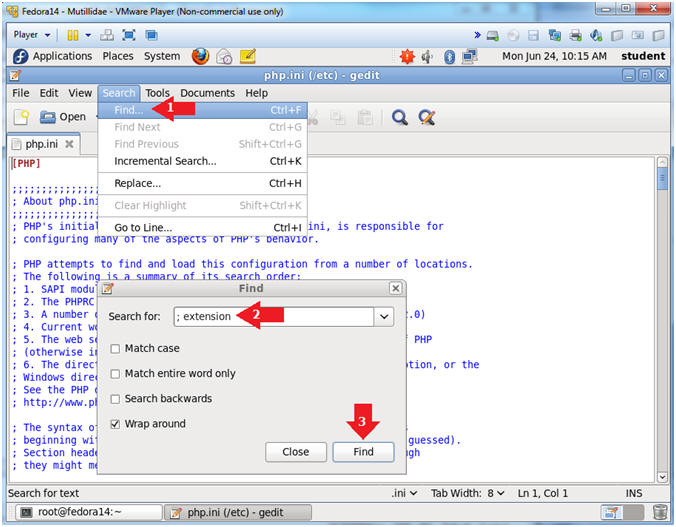
- Search php.ini
- Instructions:
- Search --> Find...
- Search for: ; extension
- Click the Find Button
- Add Extension
- Instructions:
- Below the '; extension_dir = "./"' add the following line
- Click Save
- Click "X" to Close
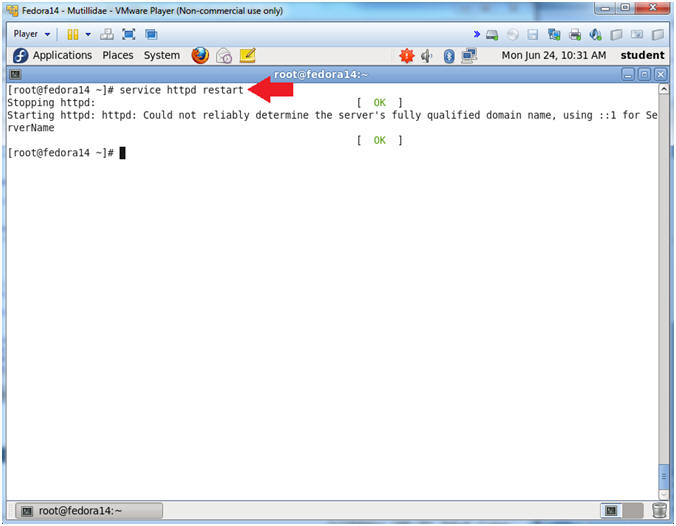
- Restart Apache
- Instructions:
- service httpd restart
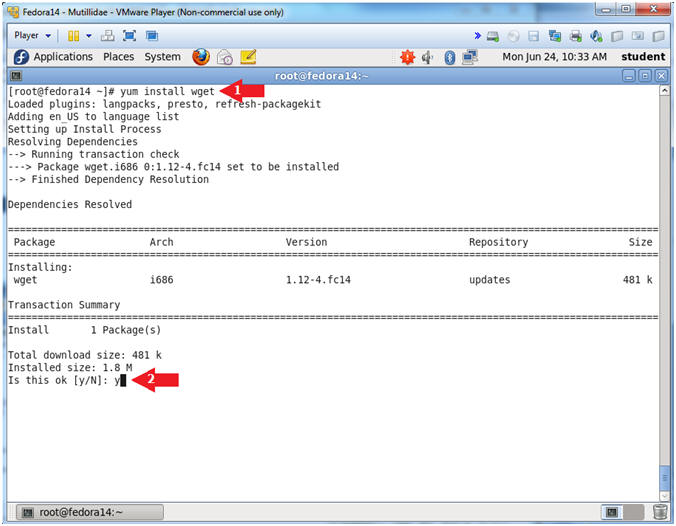
- Install wget
- Instructions:
- yum install wget
- Is this okay [y/N]: y
| Section 10. Install Mutillidae |
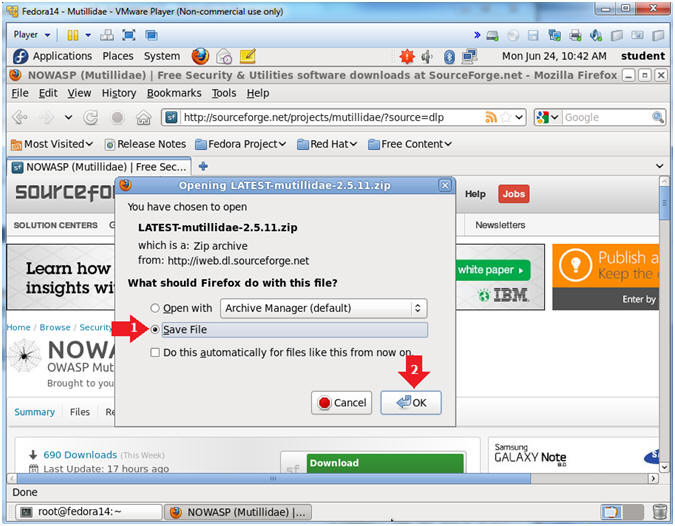
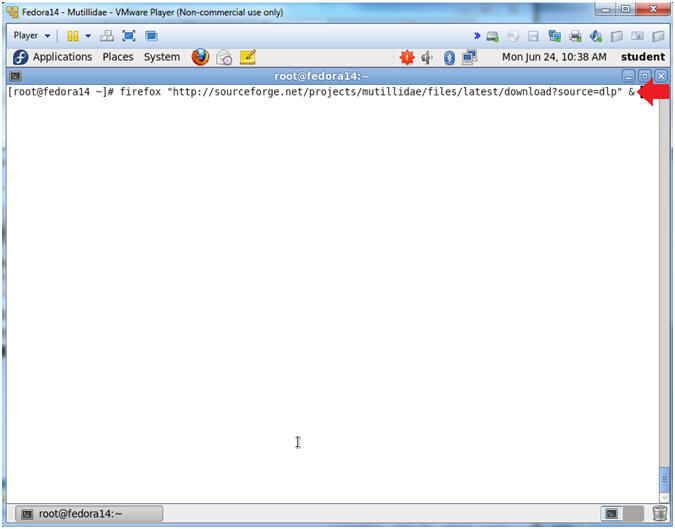
- Open Firefox
- Instructions:
- firefox "http://sourceforge.net/projects/mutillidae/files/latest/download?source=dlp" &
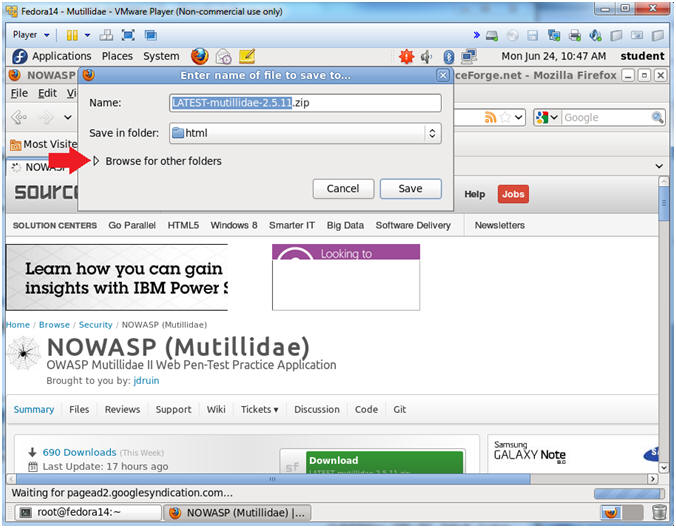
- Save File
- Instructions:
- Click radio button Save File
- Click the OK button
- Browse for other folders
- Instructions:
- Click on "Browse for other folders"
- Continue to next step
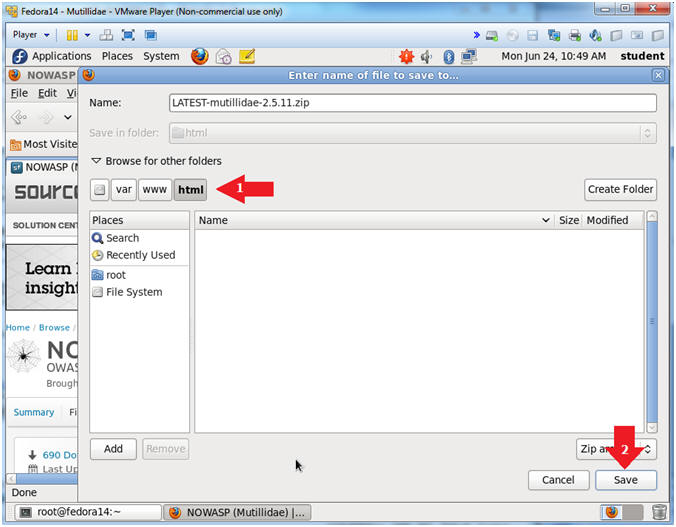
- Navigate to /var/www/html
- Instructions:
- Navigate to /var/www/html
- Click the Save Button
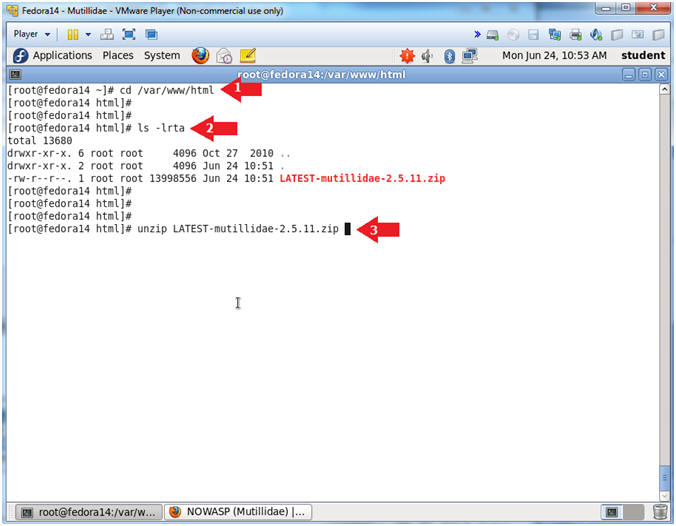
- Un-Zip Mutillidae
- Instructions:
- cd /var/www/html
- ls -lrta
- unzip LATEST-mutillidae-2.5.11.zip
- Un-Zip Mutillidae
- Instructions:
- cd mutillidae/classes/
- ls -lrta
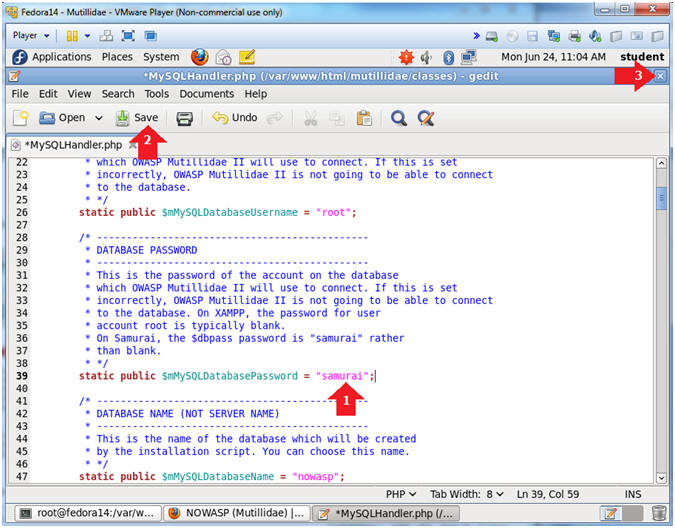
- gedit MySQLHandler.php &
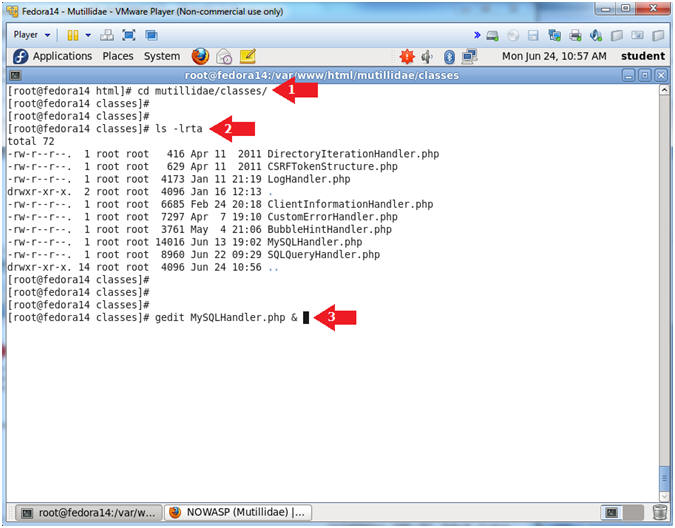
- Unzip Package
- Instructions:
- Arrow down to line 39 ---> static public $mMySQLDatabasePassword = "";
- Place the word samurai in between the quotes after the "=" sign.
- From: static public $mMySQLDatabasePassword = "";
- To: static public $mMySQLDatabasePassword = "samurai";
- Click the Save Button
- Click X to Close
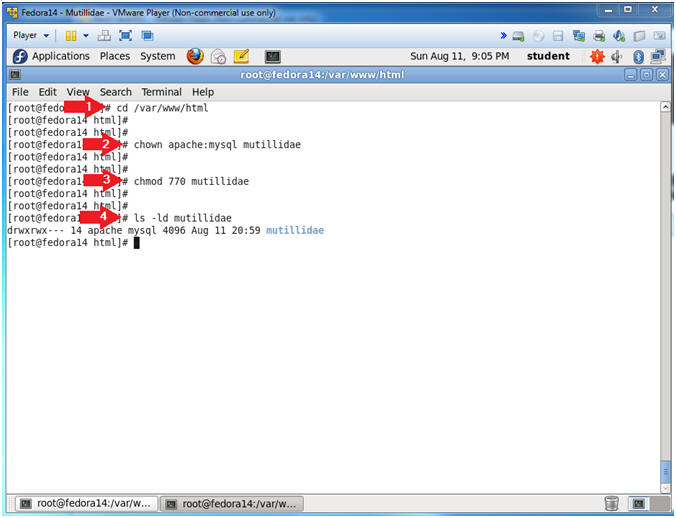
- Change Ownership
- Note(FYI):
- This step is not necessary.
- This step is to supplement additional SQL Union attacks.
- Instructions:
- cd /var/www/html
- chown apache:mysql mutillidae
- chmod 770 mutillidae
- ls -ld mutillidae
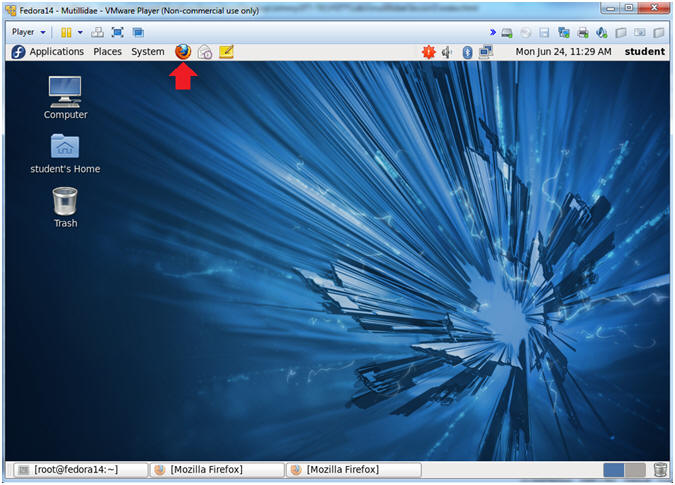
- Start Firefox
- Instructions:
- Click on the Firefox icon
- Setup/Reset the DB
- Instructions:
- http://localhost/mutillidae
- Click on setup/reset the DB
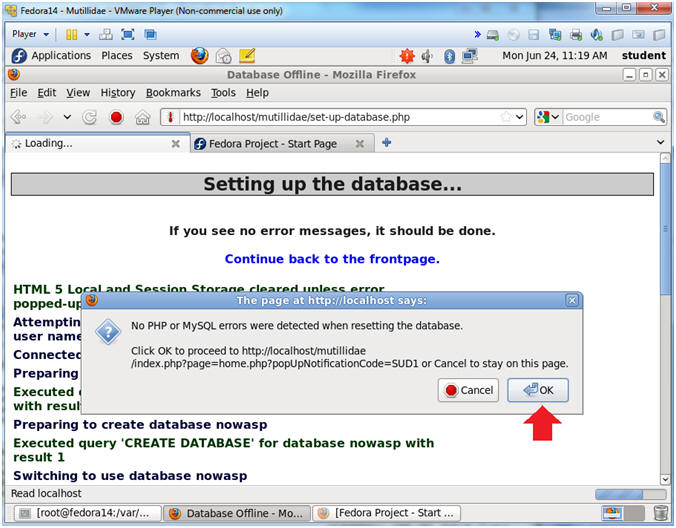
- Setting up the database...
- Instructions:
- Click the OK Button
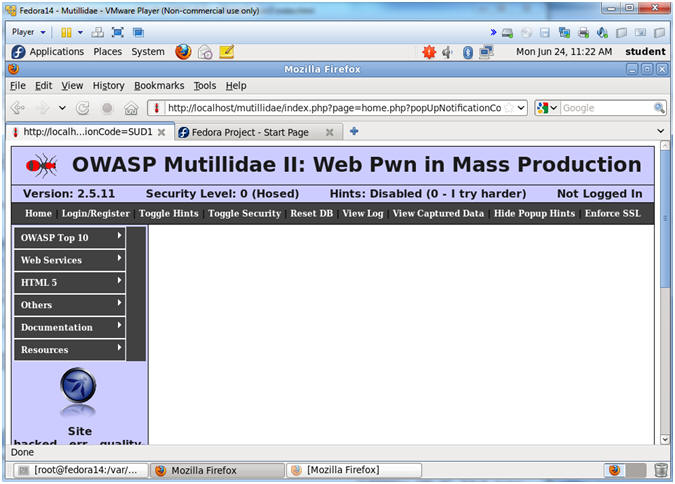
- Welcome to Mutillidae
- Note(FYI):
- If you see the below screen, then congratualations on setting up Mutillidae on a Fedora server.
- Proof of Lab
- Instructions:
- echo "use nowasp; show tables;" | mysql -uroot -psamurai
- date
- echo "Your Name"
- Replace the string "Your Name" with your actual name.
- e.g., echo "John Gray"
- Proof of Lab Instructions:
- Do a PrtScn
- Paste into a word document
- Upload to website www.antoanthongtin.edu.vn
-


Không có nhận xét nào:
Đăng nhận xét